“You can’t just bring a cake,” my friend texted me last minute, the night before her birthday party. Honestly, I was already scrambling with work and errands, and the thought of baking a traditional dessert felt like climbing Everest. So, I threw together what I had in the fridge and pantry—some cookies, a few chocolates, fresh berries, and a couple of cheeses—arranged it all on a big wooden board. It looked like a dessert party in itself.
That spontaneous birthday dessert grazing board turned out to be the highlight of the evening. People kept reaching for different treats, mixing flavors like they were crafting little masterpieces on their plates. The best part? No one was stuck with just one flavor or texture, and I didn’t have to slave away in the kitchen for hours. Since then, this idea has become my go-to for celebrations—whether it’s an unplanned gathering or a big birthday bash.
There’s something so inviting about a dessert grazing board; it’s casual yet feels special. It invites people to snack, savor, and share, making the whole celebration a bit more interactive and fun. Plus, it’s ridiculously easy to customize, so you can tailor it to any crowd or craving. This “Perfect Birthday Dessert Grazing Board” is honestly a lifesaver for busy hosts who want a wow factor without the stress. It’s the kind of treat that keeps the party going and leaves everyone smiling, long after the last bite.
Why You’ll Love This Recipe
After countless birthday parties and celebrations, I’ve found this dessert grazing board hits the sweet spot in so many ways. Here’s why it’s become a staple in my hosting toolkit:
- Quick & Easy: You can have this ready in under 20 minutes—perfect when time’s tight but you still want to impress.
- Simple Ingredients: No exotic or hard-to-find items here. Most of the ingredients are pantry staples or easy-to-find treats.
- Perfect for Any Celebration: Whether it’s an intimate birthday, a casual brunch, or a festive gathering, this board fits right in.
- Crowd-Pleaser: The mix of textures and flavors means there’s something for everyone, from creamy cheeses to crunchy cookies and juicy fruits.
- Unbelievably Delicious: The balance of sweet, savory, fresh, and rich makes every bite interesting and satisfying.
This isn’t just another dessert platter. It’s about the way you arrange and combine the components—the little surprises hidden between clusters of treats. For example, pairing tart raspberries with a creamy mascarpone dollop or spicy ginger snaps alongside smooth chocolate makes this board stand out. I also love swapping in seasonal fruits or adding a drizzle of local honey for extra flair.
It’s the kind of dessert that sparks conversation and encourages sharing. Honestly, after the first time I made it, friends kept asking me to recreate it for their celebrations. That’s how you know you’ve got a winner on your hands.
What Ingredients You Will Need
This birthday dessert grazing board uses simple, wholesome ingredients to deliver bold flavor and satisfying texture without the fuss. Most are easy to source year-round, and you can swap some items depending on your preferences or dietary needs.
- Sweet Treats
- Assorted cookies (think buttery shortbread, chocolate chip, or ginger snaps)
- Chocolate pieces or truffles (dark, milk, or white chocolate—your call)
- Mini brownies or blondies (store-bought or homemade for that personal touch)
- Fresh Fruits
- Ripe strawberries, halved
- Seedless grapes (red or green)
- Raspberries or blueberries (seasonal berries work great)
- Thinly sliced apples or pears (tossed in a little lemon juice to keep fresh)
- Cheeses
- Soft cheeses like mascarpone or cream cheese (great for dolloping)
- Firm cheeses like aged cheddar or gouda, sliced or cubed
- Goat cheese rounds (adds a tangy contrast)
- Extras & Garnishes
- Mixed nuts (almonds, walnuts, or pecans, toasted)
- Honey or fruit preserves (for drizzling or dipping)
- Fresh mint leaves (for a pop of color and freshness)
- Dark chocolate shavings or cocoa nibs (optional garnish)
For the best experience, I recommend brands like Mary’s Gone Crackers for gluten-free cookies or Valrhona chocolate if you want a richer flavor. If you’re in a pinch, store-bought brownies or even simple chocolate bars chopped into chunks work just fine. Seasonal fruit swaps are encouraged—peaches in summer, pomegranate seeds in winter. For dairy-free options, swap mascarpone with coconut cream and use nut-based cheeses.
Equipment Needed
Putting together this dessert grazing board doesn’t require fancy kitchen tools. Here’s what I usually have on hand:
- A large wooden or slate serving board (something flat and roomy)
- Small bowls or ramekins (for honey, preserves, or smaller items)
- Cheese knives or spreaders (helps with soft cheeses)
- Sharp paring knife (for slicing fruits and cheeses)
- Small tongs or toothpicks (for easy picking)
If you don’t have a fancy board, a clean baking sheet or even a large plate works just as well. Personally, I’ve found that wooden boards add warmth and rustic charm, but slate brings a sleek, modern vibe. Whatever you pick, make sure it’s easy to clean up afterward.
Pro tip: Keep a damp cloth nearby to wipe crumbs as you arrange—the presentation stays fresh and tidy. Also, if you’re assembling the board ahead, cover it tightly with plastic wrap to keep fruits fresh and cheeses from drying out.
Preparation Method

- Prep the Fruits (10 minutes): Wash all fresh fruits thoroughly. Halve strawberries, slice apples or pears thinly, and toss the apple or pear slices in a small bowl with a teaspoon of lemon juice to prevent browning. Set aside on paper towels to dry slightly.
- Slice and Arrange Cheeses (5 minutes): Cut firm cheeses into bite-sized cubes or slices. For soft cheeses like mascarpone or goat cheese, scoop into small serving bowls or leave whole for guests to spread. Place the cheese bowls or piles spaced evenly on your board.
- Lay Out Cookies and Brownies (5 minutes): Arrange cookies in small stacks or fanned out around the cheeses. Position mini brownies or blondies in clusters, mixing textures and colors to create visual interest.
- Add Nuts and Extras (3 minutes): Scatter toasted nuts in small piles or bowls around the board. Place drizzle bowls of honey or fruit preserves near soft cheeses or fruit clusters for easy pairing.
- Final Touches (2 minutes): Garnish with fresh mint leaves and a few chocolate shavings. Fill in any empty spaces with additional fruits or small treats to keep the board looking abundant and inviting.
- Serving: Bring the board out immediately or cover and refrigerate for up to an hour before serving. If chilling, remove it from the fridge 10 minutes before guests arrive to take the chill off the cheeses.
A quick note: don’t overcrowd the board. Leave some breathing room between clusters so guests can easily pick up what they want without knocking over other items. The goal is a balance between “full” and “accessible.”
Trust me, this simple prep method not only saves time but also makes the board look naturally elegant without stressing about precise placement.
Cooking Tips & Techniques
Honestly, crafting a dessert grazing board is more about assembling than cooking, but a few tricks make all the difference:
- Balance Sweet and Savory: Including cheeses alongside sweet treats adds depth and prevents sugar overload. The creamy, tangy contrast keeps your palate interested.
- Mix Textures: Crispy cookies, soft cheeses, juicy fruit, and crunchy nuts create a layered experience. Avoid too many of the same texture in one spot.
- Keep Fruit Fresh: Use lemon juice toss on sliced fruits prone to browning. Also, add fruit last if assembling ahead to maintain freshness.
- Use Small Bowls: For softer items or things that could get messy (honey, preserves), bowls keep the board tidy and easy to navigate.
- Don’t Overdo It: Sometimes less is more. A smaller board with well-chosen ingredients looks more inviting than a cluttered one.
I once made the mistake of putting out a huge board with only sweet cookies—guests quickly tired of it. After that, I learned to always include cheese and fruit for balance. Also, multitasking is key: prep fruit and cheeses while the cookies are cooling or while pulling out your serving board.
One last tip: let your cheeses come to room temperature before serving for the best flavor and texture. It’s a small step that makes a noticeable difference.
Variations & Adaptations
This birthday dessert grazing board is a flexible canvas. Here are some ways to make it your own:
- Dietary Variations: For gluten-free guests, swap cookies for almond or coconut flour-based options. Vegan? Use dairy-free cheeses and coconut whipped cream as a dip.
- Seasonal Twists: In summer, swap the berries for stone fruits like peaches or nectarines. Winter celebrations can include dried fruits like figs and apricots, plus spiced nuts.
- Flavor Themes: Try a chocolate lover’s board with all dark chocolates, chocolate-dipped fruits, and cocoa nibs. Or a tropical take with pineapple, mango slices, and coconut macaroons.
- Cooking Method Adjustments: If you want a warm element, add mini skillet brownies or warm fruit compote in a ramekin.
- Personal Variation: I sometimes add a little bowl of espresso or coffee cream for dipping cookies, which became a crowd favorite at one recent brunch party.
Serving & Storage Suggestions
Serve your dessert grazing board at room temperature for the best flavor experience. Let guests mix and match, encouraging playful combinations. For a birthday party, place it centrally so everyone can gather around and graze at their leisure.
Pair this board with a light dessert wine, sparkling water with fresh citrus slices, or even a rich coffee to complement the flavors.
Leftovers? Cover tightly with plastic wrap or store in an airtight container. Most components keep well in the fridge for up to 2 days, but fresh fruit is best eaten within 24 hours. Reheat any warm elements gently in the oven or microwave, but avoid heating the cheeses.
Flavors meld wonderfully if you prepare the board a few hours ahead, especially if drizzled with honey or preserves—just keep delicate fruits separate until serving.
Nutritional Information & Benefits
This dessert grazing board provides a balanced mix of nutrients from fresh fruit, nuts, and cheeses along with the indulgence of sweet treats. Approximate nutrition per serving (depending on portion size):
| Calories | 350-450 kcal |
|---|---|
| Carbohydrates | 35-45 g |
| Proteins | 6-10 g |
| Fats | 18-25 g |
Key benefits come from the fresh fruit’s vitamin C and antioxidants, nuts’ healthy fats, and cheese’s protein and calcium. This combo offers a satisfying treat that’s not just empty calories. For gluten-free or low-carb diets, swapping in almond flour cookies or keto-friendly treats works well.
From a wellness perspective, I appreciate how this board encourages mindful snacking—picking a bit of this and that, which slows down eating and increases enjoyment.
Conclusion
Creating the perfect birthday dessert grazing board is about more than just food—it’s about crafting a shared experience that feels effortless and joyful. Whether you’re rushing to pull something together last minute or planning a festive celebration, this dessert board delivers smiles and satisfaction every time.
Feel free to customize the ingredients and layout to suit your guests’ tastes and dietary needs. I love how this board lets me get creative with seasonal fruits and different sweets, and it always sparks conversation—and sometimes a little friendly dessert competition!
If you ever want a savory counterpart, you might enjoy trying an expertly seasoned cast iron reverse sear ribeye or browse a variety of other recipes that pair beautifully with this sweet finale.
Give this birthday dessert grazing board a go and watch it become your party’s star attraction. I’m rooting for your celebrations to be as sweet and simple as this one.
FAQs
What’s the best way to keep fruit fresh on a dessert grazing board?
Toss sliced fruits like apples or pears in a little lemon juice to prevent browning and add them last if assembling early.
Can I prepare the grazing board ahead of time?
Yes, you can prep most items and assemble the board an hour before serving. Keep it covered in the fridge and bring to room temperature before guests arrive.
What are some good dairy-free substitutes for the cheeses?
Look for nut-based cheeses or coconut cream-based spreads. Vegan cream cheese is also an easy swap that pairs well with fruit and nuts.
How do I make the board look full without overcrowding?
Arrange items in clusters with some space between them. Use small bowls for sauces and soft cheeses to keep things tidy and inviting.
What drinks pair well with a dessert grazing board?
Light dessert wines, sparkling water with citrus, coffee, or even a mild tea complement the flavors nicely without overpowering the sweets.
Pin This Recipe!
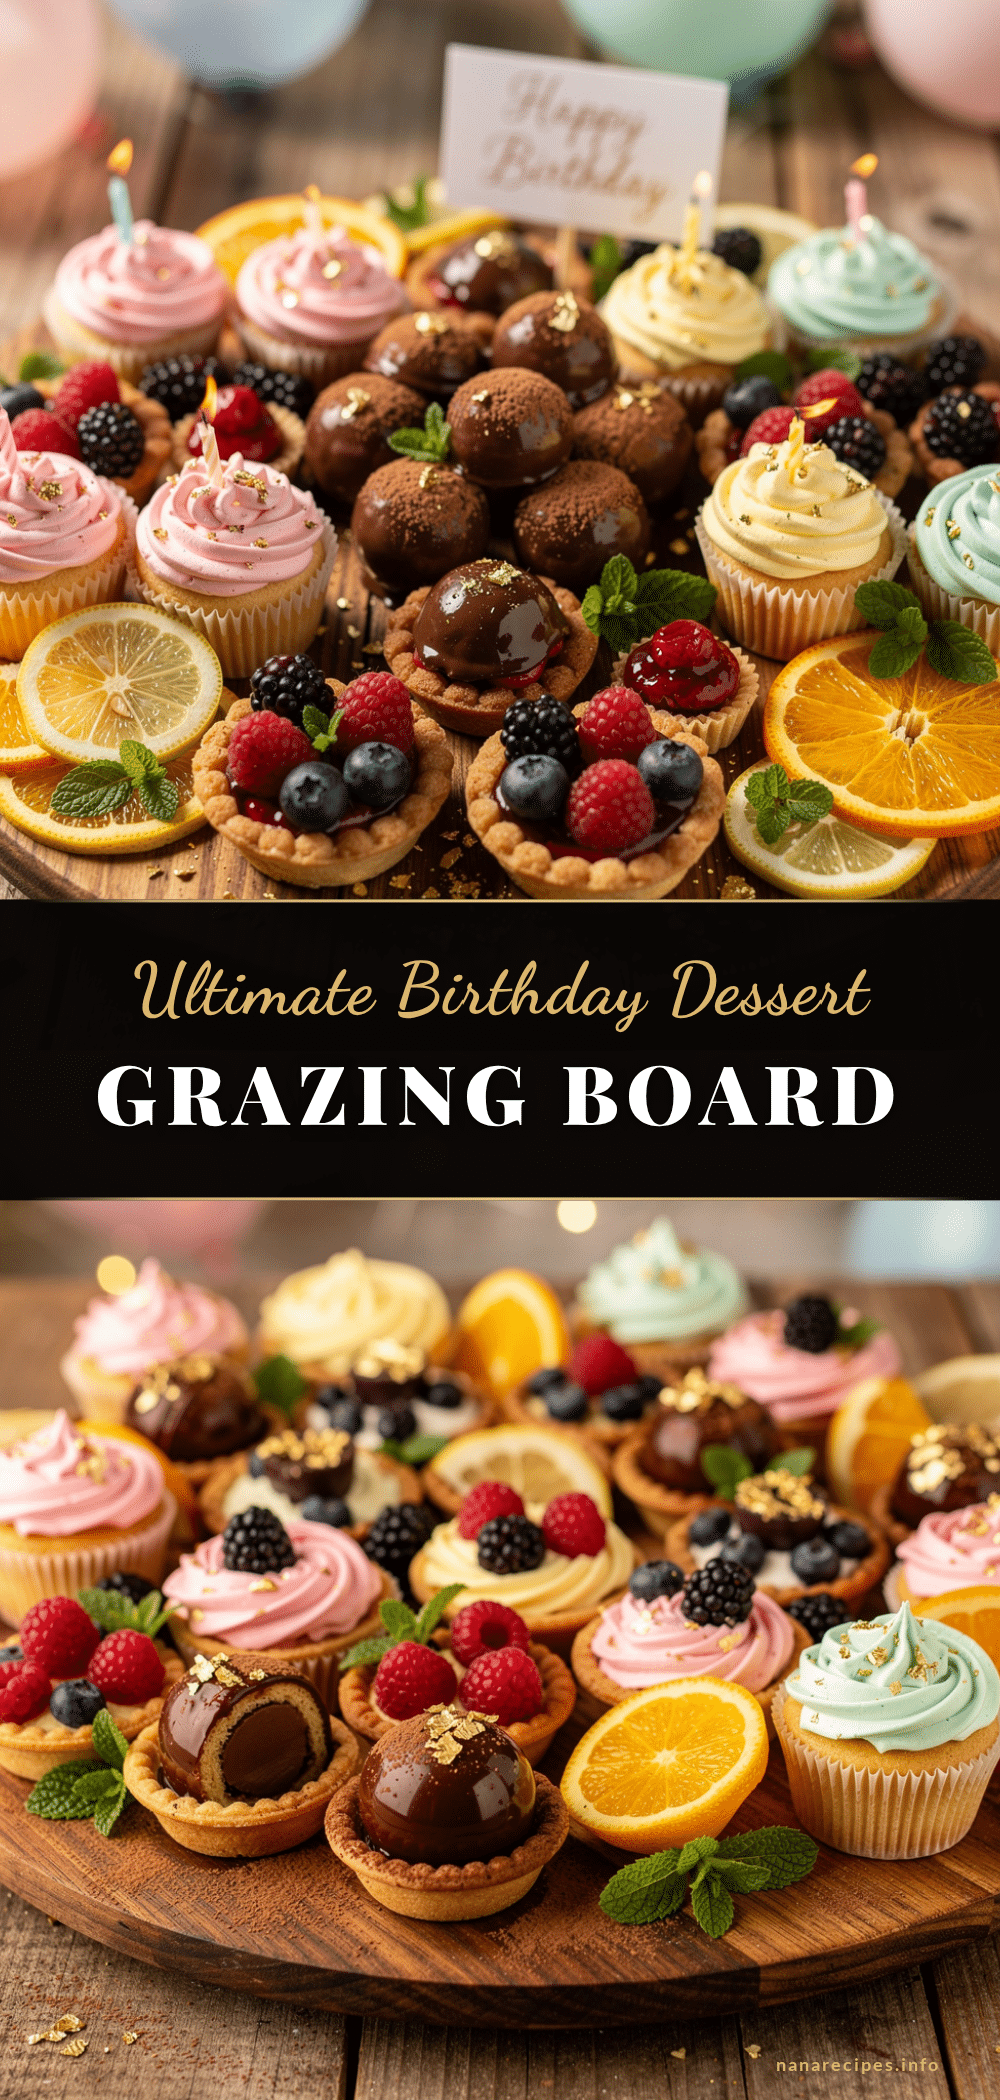
Perfect Birthday Dessert Grazing Board

A quick and easy dessert grazing board featuring assorted cookies, chocolates, fresh fruits, and cheeses, perfect for celebrations and gatherings.
- Prep Time: 20 minutes
- Cook Time: 0 minutes
- Total Time: 20 minutes
- Yield: 8 servings
- Category: Dessert
- Cuisine: American
Ingredients
- Assorted cookies (buttery shortbread, chocolate chip, or ginger snaps)
- Chocolate pieces or truffles (dark, milk, or white chocolate)
- Mini brownies or blondies (store-bought or homemade)
- Ripe strawberries, halved
- Seedless grapes (red or green)
- Raspberries or blueberries (seasonal berries)
- Thinly sliced apples or pears (tossed in lemon juice)
- Soft cheeses like mascarpone or cream cheese
- Firm cheeses like aged cheddar or gouda, sliced or cubed
- Goat cheese rounds
- Mixed nuts (almonds, walnuts, or pecans, toasted)
- Honey or fruit preserves
- Fresh mint leaves
- Dark chocolate shavings or cocoa nibs (optional)
Instructions
- Wash all fresh fruits thoroughly. Halve strawberries, slice apples or pears thinly, and toss the apple or pear slices in a small bowl with a teaspoon of lemon juice to prevent browning. Set aside on paper towels to dry slightly.
- Cut firm cheeses into bite-sized cubes or slices. For soft cheeses like mascarpone or goat cheese, scoop into small serving bowls or leave whole for guests to spread. Place the cheese bowls or piles spaced evenly on your board.
- Arrange cookies in small stacks or fanned out around the cheeses. Position mini brownies or blondies in clusters, mixing textures and colors to create visual interest.
- Scatter toasted nuts in small piles or bowls around the board. Place drizzle bowls of honey or fruit preserves near soft cheeses or fruit clusters for easy pairing.
- Garnish with fresh mint leaves and a few chocolate shavings. Fill in any empty spaces with additional fruits or small treats to keep the board looking abundant and inviting.
- Serve immediately or cover and refrigerate for up to an hour before serving. If chilling, remove from fridge 10 minutes before guests arrive to take the chill off the cheeses.
Notes
Keep a damp cloth nearby to wipe crumbs as you arrange. Cover the board tightly with plastic wrap if assembling ahead to keep fruits fresh and cheeses from drying out. Let cheeses come to room temperature before serving for best flavor. Avoid overcrowding the board to maintain accessibility and visual appeal.
Nutrition
- Serving Size: Approximately 1/8th
- Calories: 400
- Sugar: 25
- Sodium: 150
- Fat: 22
- Saturated Fat: 8
- Carbohydrates: 40
- Fiber: 4
- Protein: 8
Keywords: dessert grazing board, birthday dessert, easy celebration treats, cookies, cheeses, fresh fruit, party dessert