The jar sat in my fridge for three days before I worked up the courage to try it. I had followed the recipe exactly—blackberries, sugar, lime—but something about canning makes me second-guess everything. What if it didn’t set? What if it tasted like cough syrup? I kept finding excuses to eat my toast dry, staring at that purple jar like it might explode.
On day four, I ran out of store-bought jam. Desperate times, you know. I twisted the lid, dipped a spoon in, and honestly? I let out a little laugh. The color alone was ridiculous—deep purple with tiny flecks of lime zest catching the light. One taste and I immediately texted my sister: “I made jam. Real jam. It’s actually good.” She thought I was being dramatic, but that’s just how it goes when you surprise yourself in the kitchen.
This homemade blackberry-lime jam is the kind of thing you make once and then can’t stop making. Three ingredients, about thirty minutes of active work, and you’ve got something that tastes like summer in a jar. No pectin, no complicated canning setup, no stress. Just berries, sugar, and lime doing exactly what they’re supposed to do.
I’ve made six batches since that first nervous spoonful. Each one was better than the last. And the best part? You don’t need to be a jam expert to nail it. Trust me—if my skeptical self can pull this off, you absolutely can too.
Why You’ll Love This Recipe
I’ve tested this jam more times than I care to count, and here’s the honest truth: it works every single time. Not because I’m some kind of jam genius, but because the ingredients do all the heavy lifting. Blackberries have natural pectin, so you don’t need the store-bought stuff. The lime brightens everything up without making it sour. And the sugar? Well, it’s sugar. It does what sugar does.
- Only 3 Ingredients: Blackberries, sugar, and lime. That’s it. No pectin, no preservatives, no mystery additives.
- No Canning Experience Needed: If you can stir a pot, you can make this jam. Seriously. The hardest part is washing the berries.
- Perfect for Beginners: This was literally my first jam recipe, and it turned out great. No special equipment required.
- Customizable Sweetness: You can dial the sugar up or down depending on your berries and your preference. I’ll show you how.
- Makes a Great Gift: I’ve given jars of this to neighbors, coworkers, and my mail carrier. Everyone loves it. It feels fancy without being fussy.
What makes this recipe different from every other blackberry jam out there? The lime. Most recipes use lemon, which is fine, but lime brings this bright, almost floral quality that pairs perfectly with the deep berry flavor. It’s subtle enough that people can’t quite place it, but they know something is different. Something better.
This jam reminds me of summer mornings at my grandmother’s table, even though she never made jam with lime. It’s comfort food in a jar—familiar but surprising, simple but special. And honestly? It makes me happy every time I open the fridge and see that purple glow.
What Ingredients You Will Need
This recipe uses three simple ingredients that come together to create something truly special. Each one plays an important role, so let’s talk about what to look for and why they matter.
- Fresh Blackberries (4 cups / about 600 grams): Fresh berries are ideal, but frozen work perfectly too. Look for plump, deep purple berries that aren’t mushy or moldy. If using frozen, thaw them first and drain off any excess liquid. I’ve used both Driscoll’s and store-brand berries with great results. The riper the berries, the sweeter your jam will be, so if your berries are tart, you might want to add an extra tablespoon or two of sugar.
- Granulated Sugar (2 cups / 400 grams): Regular white sugar is best here. It dissolves cleanly and helps the jam set properly. Don’t substitute honey or maple syrup—they change the flavor and texture significantly. If you want to reduce the sugar, you can go down to 1 ½ cups, but the jam will be looser and won’t keep as long. I’ve tested it both ways, and honestly, the full sugar version tastes better and sets more reliably.
- Fresh Limes (2 large limes): You’ll need both the zest and the juice. Look for limes that feel heavy for their size—that means they’re juicy. Roll them on the counter firmly before juicing to get every last drop. The zest adds brightness and complexity, while the juice balances the sweetness and helps activate the natural pectin. I don’t recommend bottled lime juice here; the fresh stuff really makes a difference.
That’s it. Three ingredients, no tricks. The beauty of this recipe is that it lets the fruit shine. No artificial flavors, no pectin powder, no corn syrup. Just pure, honest jam made from stuff you can actually pronounce.
Equipment Needed
You don’t need a fancy kitchen to make this jam. Here’s what you’ll actually use:
- Large Heavy-Bottomed Pot: A Dutch oven or stainless steel pot works great. You need something wide so the liquid evaporates and the jam thickens. Avoid thin pots—they’ll scorch the sugar before it has a chance to cook properly.
- Wooden Spoon or Silicone Spatula: Something heat-safe for stirring. I prefer a wooden spoon because it doesn’t scratch my pot and feels nice in my hand.
- Microplane or Fine Grater: For zesting the limes. A box grater works too, but a microplane gives you finer zest that blends into the jam beautifully.
- Citrus Juicer: Not essential, but it makes juicing limes so much easier. I have a simple hand-held one that cost three dollars.
- Jars with Lids: You’ll need about 2-3 half-pint jars. Sterilize them by washing in hot soapy water and then placing in a 250°F oven for 10 minutes. Or just run them through the dishwasher on the sanitize cycle.
- Canning Funnel (optional): Makes filling jars much less messy. Worth the five bucks if you plan to make jam regularly.
If you don’t have a heavy pot, use what you’ve got and just stir more often. I’ve made this jam in a nonstick skillet before and it worked fine—you just have to watch it carefully.
Preparation Method
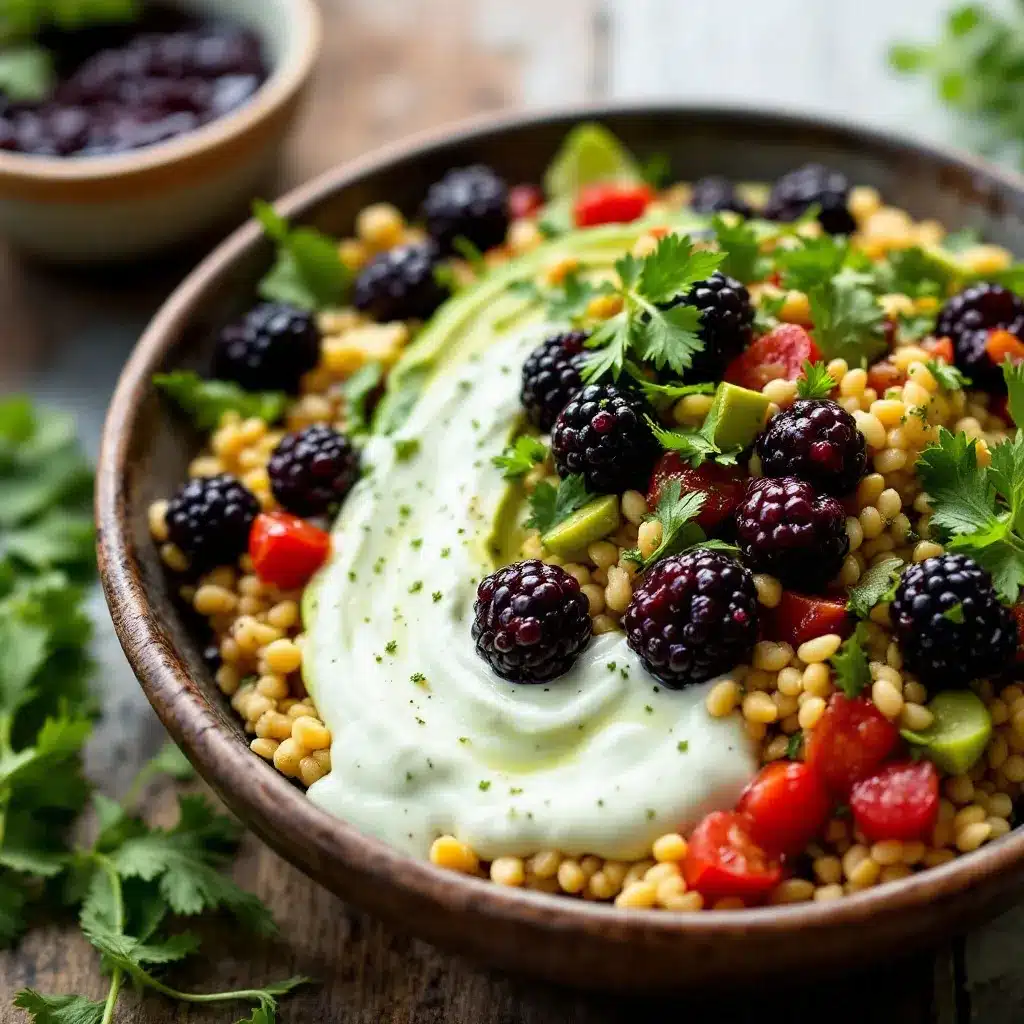
Let’s make some jam. Put on some music, pour yourself a drink, and let’s get cooking.
- Prep Your Berries (5 minutes): Rinse the blackberries gently under cold water. Pick out any stems, leaves, or questionable berries. Don’t worry about drying them completely—a little water on the berries is fine and actually helps the sugar dissolve. If your berries are huge, you can give them a rough chop, but I prefer leaving them whole. They’ll break down as they cook.
- Zest and Juice Your Limes (3 minutes): Wash the limes well. Zest them before juicing—it’s much easier. You want about 2 teaspoons of zest. Then juice them. You’ll need about 3-4 tablespoons of fresh lime juice. Set both aside.
- Combine Berries and Sugar (2 minutes): In your large pot, add the blackberries and sugar. Stir gently to coat the berries. Let this sit for about 10 minutes. The sugar will start drawing out the berries’ juices, creating a syrupy mixture. This is called macerating, and it helps the jam cook more evenly.
- Start Cooking (15-20 minutes): Turn the heat to medium-high. Bring the mixture to a boil, stirring occasionally. Once it’s boiling hard, reduce the heat to medium. You want a steady, active simmer—not a wild boil, but definitely not a lazy bubble. Stir every minute or so to prevent sticking.
- Add the Lime (5 minutes before done): After about 10 minutes of simmering, stir in the lime zest and juice. The jam will look very liquid at this point. Don’t panic. Keep cooking and stirring. You’ll notice it starting to thicken and the foam will subside.
- Test for Doneness (2 minutes): Here’s the trick I learned after my first failed batch. Put a small plate in the freezer before you start cooking. When you think the jam might be ready, drop a spoonful onto the cold plate. Let it sit for 30 seconds, then run your finger through it. If the jam wrinkles and holds its shape, it’s done. If it runs back together, keep cooking for another 2-3 minutes and test again.
- Skim the Foam (1 minute): Once your jam is done, you’ll see foam on top. This is just air bubbles and impurities. Skim it off with a spoon. Don’t throw it away though—spread it on toast right now as a cook’s treat. You earned it.
- Fill Your Jars (5 minutes): Ladle the hot jam into your sterilized jars, leaving about ¼ inch of headspace at the top. Wipe the rims clean with a damp paper towel. Screw on the lids. Let the jars cool completely on the counter. You’ll hear the lids pop as they seal—that satisfying sound never gets old.
If you’re not canning for long-term storage, just pour the jam into a clean jar and refrigerate. It’ll keep for about 3 weeks in the fridge. Trust me, it won’t last that long.
Cooking Tips & Techniques
I’ve made plenty of mistakes with jam over the years, so you don’t have to. Here’s what I’ve learned the hard way.
Don’t Walk Away: Jam can go from perfect to burnt in about 30 seconds. Stay by the stove. Stir often. Listen to a podcast if you need entertainment, but keep your eyes on that pot.
The Wrinkle Test Never Lies: I used to go by time alone, and my jam was always hit or miss. The cold plate test is foolproof. Trust it over the clock every time.
Low and Slow for Better Flavor: If you boil the jam too hard, you’ll cook off the bright berry flavor. A steady simmer lets the fruit shine. Patience pays off here.
Don’t Double the Batch: I know it’s tempting, but making a double batch takes much longer to cook down and often ends up overcooked or uneven. Make two separate batches if you need more. Your jam will thank you.
Use a Splatter Guard: Hot jam splatters are no joke. That stuff sticks to skin and burns like crazy. A mesh splatter guard over your pot is cheap insurance.
One time I forgot to add the lime until the very end. The jam was fine, but it lacked that bright pop that makes this recipe special. Now I always set a timer so I don’t forget. Little things like that make a big difference.
Variations & Adaptations
This recipe is a great starting point, but don’t be afraid to play around. Here are some variations I’ve tried and loved.
- Spicy Blackberry-Lime Jam: Add a finely chopped jalapeño (seeds removed unless you like heat) along with the lime. The heat and sweet combo is incredible on a cheese plate. I made this for a party and people couldn’t stop talking about it.
- Blackberry-Lime Mint Jam: Stir in 2 tablespoons of finely chopped fresh mint right before jarring. It sounds weird, but mint and blackberry are a match made in heaven. Try it on buttered toast—you’ll see.
- Low-Sugar Version: Use 1 ½ cups of sugar instead of 2. The jam will be looser and won’t keep as long (about 2 weeks in the fridge), but it’s still delicious. You can also use a low-sugar pectin if you want a firmer set with less sugar.
- Mixed Berry Jam: Swap half the blackberries for blueberries, raspberries, or strawberries. Each combination gives you a different flavor profile. My personal favorite is half blackberry, half raspberry with the lime.
- Vanilla-Blackberry Lime Jam: Add 1 teaspoon of vanilla extract along with the lime. It adds warmth and depth that’s perfect for winter months. I made this for holiday gifts last year and it was a hit.
If you love working with fresh fruit and want another recipe to try, you might enjoy our moist blueberry zucchini bread with lemon glaze—it has that same bright, fruity energy that this jam does.
Serving & Storage Suggestions
This jam is incredibly versatile. Here’s how I use it most often.
On Toast or Biscuits: The classic. Slather it on warm buttered toast, fresh biscuits, or flaky croissants. The lime cuts through the butter beautifully.
With Cheese: This jam is amazing on a cheese board. Try it with brie, goat cheese, or sharp cheddar. The sweet-tart jam balances rich, creamy cheeses perfectly. I’ve served it at parties and it always gets devoured.
In Yogurt or Oatmeal: Swirl a spoonful into plain Greek yogurt or warm oatmeal. It adds sweetness and flavor without processed sugar. My kids love this for breakfast.
As a Glaze: Warm the jam slightly and brush it over grilled chicken, pork chops, or salmon. The lime and berry flavors are incredible with savory dishes. Try it on our crispy beer can chicken for a sweet and tangy twist.
Storage: Keep unopened jars in a cool, dark place for up to a year. Once opened, refrigerate and use within 3 weeks. If you see mold, toss the whole jar—better safe than sorry.
Freezing: You can freeze this jam in freezer-safe containers for up to 6 months. Thaw in the fridge overnight. The texture might be slightly softer, but the flavor is still great.
Reheating: If your jam crystallizes or gets too thick in the fridge, microwave it for 10-15 seconds and stir. It’ll smooth right out.
Nutritional Information & Benefits
Here’s the honest truth about jam: it’s mostly sugar. But that doesn’t mean it can’t be part of a balanced diet. A little sweetness goes a long way.
Per tablespoon serving (approximate):
- Calories: 45
- Carbohydrates: 12g
- Sugar: 11g
- Fiber: 1g
- Vitamin C: 4% DV
- Manganese: 3% DV
Blackberries are packed with antioxidants, fiber, and vitamin C. They’re one of the highest-fiber fruits you can eat, which is great for digestion. Limes add even more vitamin C and that bright, immune-boosting kick.
This jam is naturally gluten-free, dairy-free, and vegan. If you use the low-sugar version, you can also make it suitable for reduced-sugar diets. Just remember that it won’t keep as long without the full amount of sugar as a preservative.
I personally love knowing exactly what’s in my food. No high-fructose corn syrup, no artificial colors, no preservatives. Just fruit, sugar, and lime. Simple and honest.
Conclusion
This homemade blackberry-lime jam has become a staple in my kitchen for good reason. It’s easy enough for a beginner to nail on the first try, but delicious enough to impress even the pickiest jam snobs. The lime adds something special that sets it apart from every other berry jam out there.
I love that I can make a batch in under an hour and have something that tastes like it came from a fancy farmer’s market. It makes me feel accomplished, even on days when nothing else goes right. And honestly? That little pop of the jar lid sealing is one of the most satisfying sounds in the world.
If you’re feeling adventurous, try this jam on our sunflower butter and jam sushi rolls for a fun twist on lunch. Or just eat it straight from the jar with a spoon—no judgment here.
I’d love to hear how your batch turns out. Did you add any twists? Did your family love it? Drop a comment below and let me know. And if you share a photo on social media, tag me so I can see your beautiful purple jars. Happy cooking, friends!
Frequently Asked Questions
Can I use frozen blackberries instead of fresh?
Absolutely. Frozen blackberries work great. Just thaw them first and drain off any excess liquid before cooking. You might need to cook the jam an extra 2-3 minutes to evaporate the extra moisture.
Why didn’t my jam set properly?
This usually happens if you didn’t cook it long enough or if your berries were very watery. Next time, use the cold plate test to check for doneness. You can also cook it a few minutes longer—just watch it carefully so it doesn’t burn.
How long does this jam keep?
Unopened jars stored in a cool, dark place will keep for up to a year. Once opened, refrigerate and use within 3 weeks. If you see any mold, discard the entire jar.
Can I reduce the sugar?
Yes, you can reduce the sugar to 1 ½ cups, but the jam will be looser and won’t keep as long. For a firmer set with less sugar, you can add low-sugar pectin following the package directions.
Do I need to use pectin?
Nope! Blackberries have enough natural pectin to set this jam perfectly. The lime juice helps activate it. No store-bought pectin needed.
Pin This Recipe!
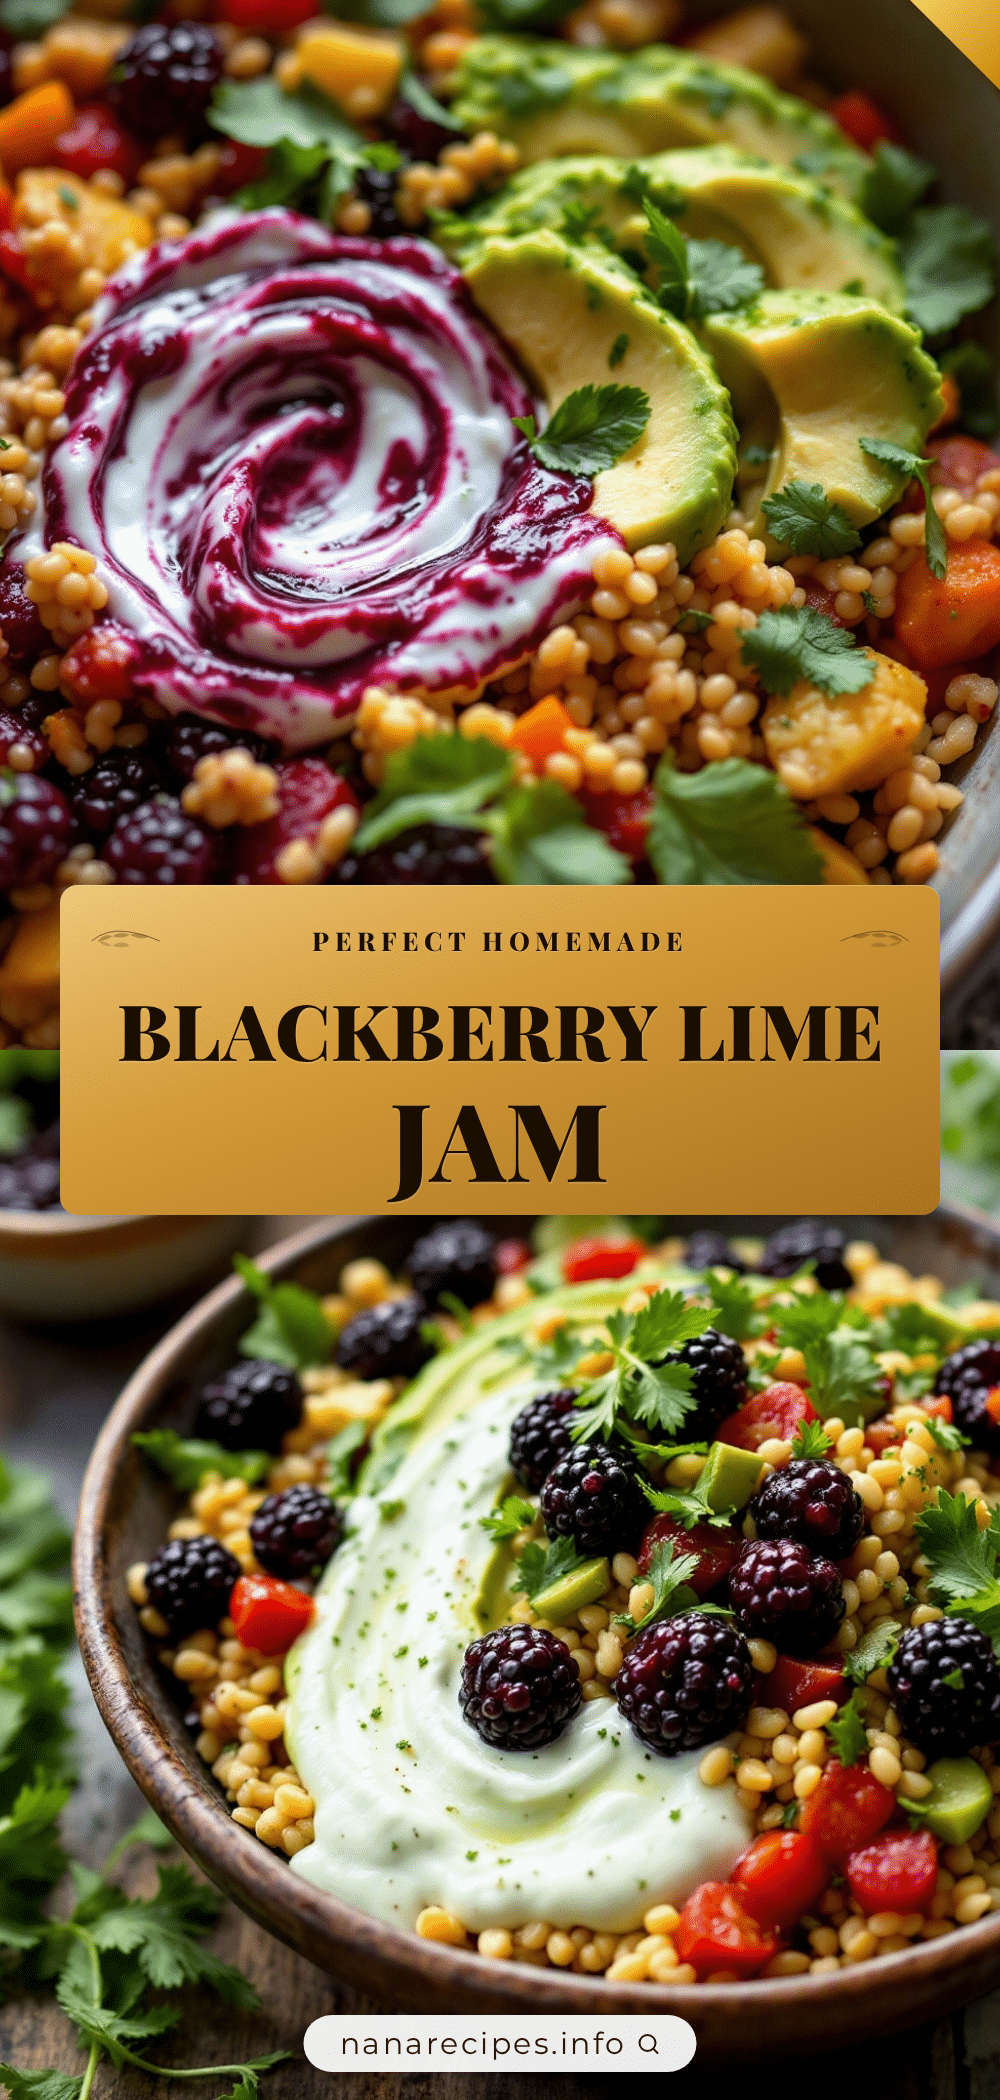
Homemade Blackberry-Lime Jam: Easy 3-Ingredient Recipe
This homemade blackberry-lime jam is made with just three ingredients and no pectin. It’s easy enough for beginners and tastes like summer in a jar.
- Prep Time: 10 minutes
- Cook Time: 20 minutes
- Total Time: 30 minutes
- Yield: 2-3 half-pint jars (about 32-48 servings) 1x
- Category: Condiment
- Cuisine: American
Ingredients
- 4 cups fresh blackberries (about 600 grams)
- 2 cups granulated sugar (400 grams)
- 2 large fresh limes (zest and juice)
Instructions
- Rinse the blackberries gently under cold water. Pick out any stems, leaves, or questionable berries. If berries are huge, give them a rough chop, but leaving them whole is fine.
- Wash the limes well. Zest them to get about 2 teaspoons of zest, then juice them to get about 3-4 tablespoons of fresh lime juice. Set both aside.
- In a large heavy-bottomed pot, add the blackberries and sugar. Stir gently to coat the berries. Let sit for about 10 minutes to macerate.
- Turn the heat to medium-high and bring the mixture to a boil, stirring occasionally. Once boiling hard, reduce the heat to medium for a steady, active simmer. Stir every minute or so to prevent sticking.
- After about 10 minutes of simmering, stir in the lime zest and juice. Continue cooking and stirring until the jam thickens and foam subsides.
- Test for doneness using the cold plate test: place a small plate in the freezer before cooking. Drop a spoonful of jam onto the cold plate, let it sit for 30 seconds, then run your finger through it. If it wrinkles and holds its shape, it’s done. If not, cook another 2-3 minutes and test again.
- Once done, skim off the foam with a spoon. Ladle the hot jam into sterilized jars, leaving about ¼ inch headspace. Wipe rims clean, screw on lids, and let cool completely on the counter.
Notes
Don’t walk away from the pot; jam can burn quickly. Use the cold plate test for doneness rather than relying on time. Don’t double the batch—make two separate batches if needed. Use a splatter guard to prevent burns from hot jam splatters.
Nutrition
- Serving Size: 1 tablespoon
- Calories: 45
- Sugar: 11
- Carbohydrates: 12
- Fiber: 1
Keywords: blackberry jam, lime jam, homemade jam, easy jam recipe, no pectin jam, 3-ingredient jam, blackberry lime jam