I still remember the exact moment this jam idea hit me. I was standing in my kitchen staring at a carton of blackberries that were one day past their prime and a bottle of balsamic vinegar I’d bought on a whim at the farmers market. My grandma’s voice popped into my head—she always said the best recipes come from using what you have before it goes bad. So I grabbed a pot, dumped in the berries, and figured I’d just make regular jam. Then my hand hovered over the vinegar bottle, and honestly? I just went for it.
That first batch was a happy accident. The balsamic didn’t overpower the berries like I worried it would. Instead, it did something magical—it deepened their sweetness and added this subtle tang that made the whole thing taste more grown-up and complex. I brought a jar to my neighbor Carol, and she texted me later that night saying she’d eaten half of it straight from the spoon. That’s when I knew this wasn’t just another jam recipe.
This Best Blackberry-Balsamic Jam Recipe has become my secret weapon for everything from morning toast to fancy cheese boards. It’s the kind of recipe that makes you look like you spent hours in the kitchen when really it comes together in under an hour. The blackberries break down into this deep, jammy goodness while the balsamic works its magic in the background. Every time I make it, someone asks for the recipe. And honestly? I’m happy to share it.
Why You’ll Love This Recipe
This isn’t your average fruit jam. After testing this recipe about seven times (my family was very patient), I can tell you exactly why it works so well.
- Quick & Easy : Comes together in about 40 minutes, no canning experience required. You don’t even need a water bath if you’re planning to eat it within a few weeks.
- Simple Ingredients : You only need blackberries, sugar, balsamic vinegar, lemon juice, and a little patience. No pectin packets or fancy preservatives.
- Perfect for Gifting : Tie a ribbon around a jar and you’ve got a homemade gift that looks like it came from a fancy boutique. I gave these out last Christmas and people still bring it up.
- Crowd-Pleaser : Even people who say they don’t like jam end up going back for seconds. The balsamic throws them off at first, then they’re hooked.
- Unbelievably Delicious : The flavor is next-level. Sweet, tangy, a little bit sophisticated—it’s comfort food that feels fancy.
What makes this recipe different from every other blackberry jam out there is that balsamic element. It’s not just a gimmick. The vinegar actually helps balance the sweetness and brings out the berry’s natural earthiness. I’ve tried making it without the balsamic, and it’s just… flat. Trust me on this one.
This is the kind of jam that makes you close your eyes after the first bite. It’s perfect for spreading on warm biscuits, stirring into yogurt, or spooning over vanilla ice cream. And it makes you feel like you actually know what you’re doing in the kitchen.
What Ingredients You Will Need
This recipe uses simple, wholesome ingredients that work together to create something truly special. Most of these are probably already in your pantry, which makes this even better.
- Fresh blackberries – 4 cups (about 600 grams). Use ripe but not mushy berries. If they’re underripe, the jam won’t be as sweet. If they’re too soft, the texture gets a bit mushy. I like getting mine from the farmers market when they’re in season, but grocery store berries work fine too.
- Granulated sugar – 2 cups (400 grams). Don’t try to cut the sugar too much—it’s what helps the jam set and preserves it. I’ve tested this with coconut sugar and it works, but the flavor changes quite a bit.
- Balsamic vinegar – 3 tablespoons. Use a good quality one here. I really like Lucini or Colavita for this. Don’t use the super cheap stuff—it can taste harsh. And stay away from the really thick, syrupy aged balsamic for cooking; it’s too sweet and expensive to waste on jam.
- Fresh lemon juice – 2 tablespoons (about half a lemon). This adds brightness and helps the jam set. Don’t use bottled lemon juice if you can help it—the fresh stuff really makes a difference in flavor.
- Pinch of salt – Just a tiny pinch. It balances the sweetness and makes the berry flavor pop. You won’t taste it, I promise.
For substitutions, you can use frozen blackberries if fresh aren’t available. Just thaw them first and drain off any excess liquid. If you want a lower-sugar version, you can try using a low-sugar pectin and follow the instructions on that package, but the texture will be a bit different. For a balsamic swap, try red wine vinegar in a pinch—it won’t be the same but it’ll still be tasty.
Equipment Needed
You don’t need a ton of fancy equipment for this recipe, which is part of why I love it.
- Large heavy-bottomed pot – A Dutch oven or stainless steel pot works great. The heavy bottom helps prevent scorching. I use my 5-quart Le Creuset and it’s perfect.
- Wooden spoon or silicone spatula – For stirring. Metal can react with the acidity, so stick with wood or silicone.
- Jars with lids – Two pint-sized jars or four half-pint jars. Make sure they’re clean and sterilized. I just run mine through the dishwasher on the sanitize cycle.
- Small plate – For testing if the jam is set. Pop it in the freezer before you start cooking.
- Ladle – For transferring the hot jam into jars. A wide-mouth funnel helps too if you have one.
- Kitchen towel – For wiping jar rims clean before sealing.
If you don’t have a heavy-bottomed pot, just use whatever large pot you have and stir more frequently. And if you don’t have a ladle, a clean measuring cup with a spout works fine. I’ve made this in my mom’s tiny apartment kitchen with basic equipment and it turned out great.
Preparation Method
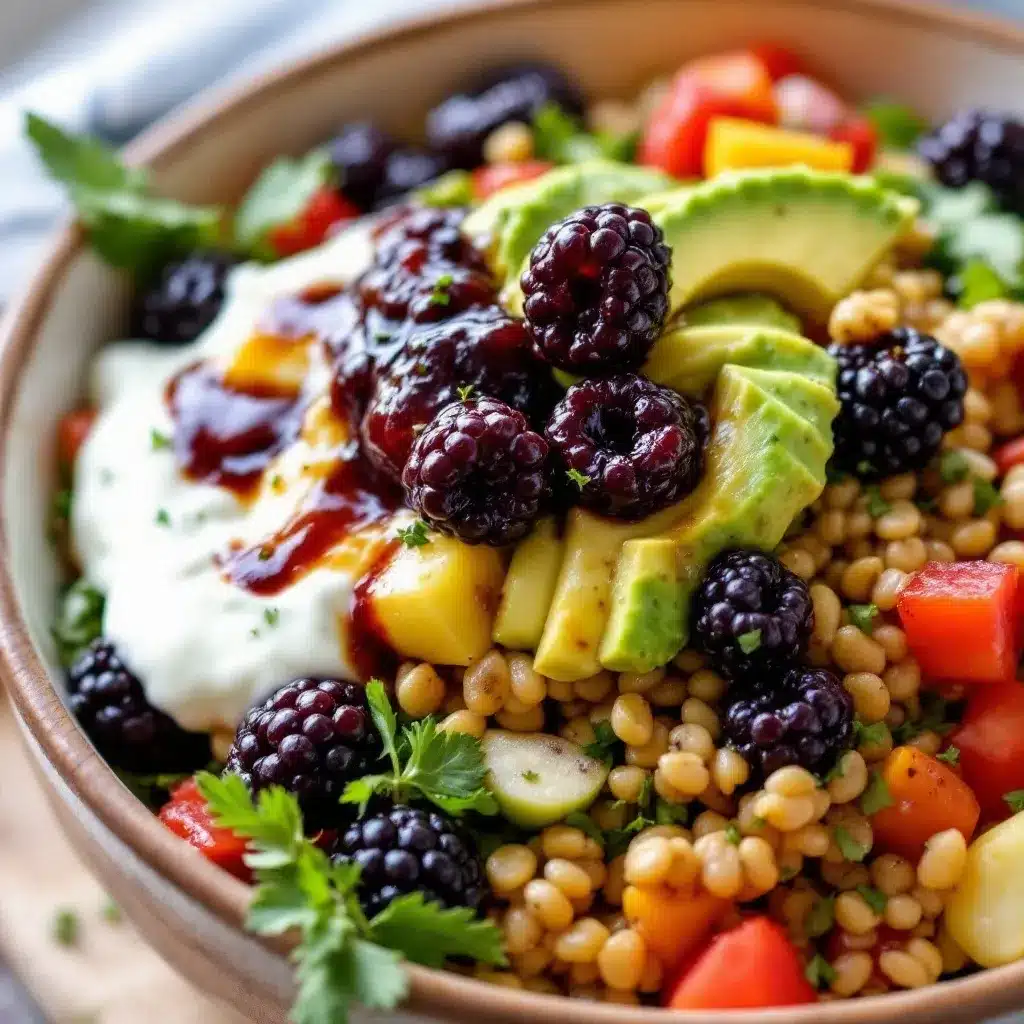
This is where the magic happens. Follow these steps and you’ll have the best jam you’ve ever tasted.
- Prepare your berries – Rinse the blackberries gently under cold water and pick out any stems or leaves. If you see any moldy berries, toss them. Pat the berries dry with a clean kitchen towel—excess water can make the jam too runny.
- Mash the berries – Put the blackberries in your pot and mash them with a potato masher or the back of a wooden spoon. I like to leave some berries partially whole for texture, but if you prefer smooth jam, mash them thoroughly. You should have about 3 cups of mashed berries.
- Add sugar and lemon juice – Stir in the sugar, lemon juice, and pinch of salt. Let it sit for about 5 minutes. This helps draw out the berry juices and starts the maceration process. You’ll see the sugar start to dissolve and the mixture get juicy.
- Start cooking – Place the pot over medium-high heat and bring the mixture to a rolling boil, stirring frequently. This usually takes about 5-7 minutes. Don’t walk away—once it starts boiling, things move fast.
- Add the balsamic – Once the mixture is boiling vigorously, stir in the balsamic vinegar. Reduce the heat to medium and continue boiling, stirring often. The jam will foam up as it cooks—that’s normal. Just keep stirring.
- Cook until thickened – Continue boiling for about 15-20 minutes. The jam will darken and thicken. You’ll notice it starts to pull away from the sides of the pot and looks glossy. This is your visual cue that it’s getting close.
- Test for doneness – Here’s the trick I learned from my grandma. Take that small plate out of the freezer and drop a small spoonful of jam onto it. Let it sit for 30 seconds, then push it with your finger. If it wrinkles and doesn’t run back together, it’s done. If it’s still runny, cook for another 2-3 minutes and test again.
- Remove from heat – Once the jam passes the plate test, take the pot off the heat immediately. Let it sit for 5 minutes. This helps the jam settle and makes it easier to jar without burning yourself.
- Fill the jars – Using your ladle, carefully spoon the hot jam into your sterilized jars, leaving about ¼ inch of headspace at the top. Wipe the rims clean with a damp kitchen towel—any residue can prevent a good seal.
- Seal and cool – Screw on the lids tightly. Let the jars cool completely at room temperature. You’ll hear little popping sounds as they seal—that’s the sound of success. Once cool, press the center of each lid. If it doesn’t pop back, it’s sealed.
Your kitchen is going to smell incredible during this whole process. The combination of blackberries and balsamic creates this warm, slightly tangy aroma that just feels cozy.
Cooking Tips & Techniques
I’ve made this jam at least a dozen times, and I’ve learned a few things the hard way so you don’t have to.
Don’t walk away from the pot. I learned this one the hard way when I got distracted by a phone call and ended up with burnt jam that tasted like regret. The sugar content means it can go from perfect to scorched in about 30 seconds. Stay close and stir often.
Use a thermometer if you’re nervous. The jam is ready when it reaches 220°F (105°C) at sea level. If you live at a higher altitude, subtract 2°F for every 1,000 feet. I don’t always use a thermometer anymore, but it’s a great tool when you’re learning.
Skim the foam. As the jam cooks, a foamy layer will form on top. You can skim this off with a spoon if you want a clearer jam. I personally leave it because I don’t mind the texture, but it’s up to you.
Don’t double the recipe. I know it’s tempting, especially if you have a lot of berries, but larger batches take longer to cook and the jam can end up overcooked or uneven. Make two separate batches instead. Your patience will pay off.
Let it cool before judging. Hot jam looks thinner than it actually is. Don’t panic if it seems runny when you first take it off the heat. It will thicken significantly as it cools. I’ve definitely had moments of panic that turned out fine.
Use a wide pot. A wider surface area helps the liquid evaporate faster, which means your jam sets quicker. If your pot is too narrow and deep, it’ll take longer and the berries might overcook before the jam thickens.
Label your jars. Trust me on this one. I thought I’d remember what I made and when, but six months later I was staring at unlabeled jars wondering if they were from last summer or the one before. Write the date on the lid with a permanent marker.
Variations & Adaptations
This recipe is incredibly flexible, and I’ve tried several variations over the years.
Spiced Blackberry Balsamic Jam – Add 1 teaspoon of fresh grated ginger and a cinnamon stick while the jam cooks. Remove the cinnamon stick before jarring. The warmth of the spices pairs beautifully with the balsamic. I made this for a fall brunch and it was gone in ten minutes.
Low-Sugar Version – Use 1 cup of sugar instead of 2, and add 2 tablespoons of low-sugar pectin mixed with 2 tablespoons of sugar before cooking. Follow the pectin package instructions for best results. The texture will be softer, but the flavor is still amazing.
Herb-Infused Jam – Add 2 sprigs of fresh thyme or rosemary to the pot while the jam cooks. Remove them before jarring. The herbal notes add a savory complexity that’s incredible on cheese plates. I served this at a summer party and everyone thought I was a culinary genius.
Mixed Berry Version – Replace half the blackberries with raspberries, blueberries, or chopped strawberries. The flavor gets more complex and the color turns a gorgeous deep purple. This is my go-to when I have assorted berries that need using up.
Spicy Kick – Add a small dried chili pepper or ¼ teaspoon of red pepper flakes to the pot while cooking. Remove before jarring. The heat sneaks up on you and works surprisingly well with the sweet-tangy flavors. My husband loves this version on his breakfast sandwiches.
For allergen substitutions, this recipe is naturally gluten-free, dairy-free, and nut-free. Just make sure your balsamic vinegar doesn’t contain any added ingredients that might be an issue for you.
I’ve also tried making this with a splash of bourbon instead of balsamic, and while it was interesting, it didn’t have the same depth. Stick with the balsamic for the best results.
Serving & Storage Suggestions
This jam is incredibly versatile, and I love finding new ways to use it.
Serving temperature – Serve at room temperature for the best flavor and spreadability. If you’ve refrigerated it, let it sit out for about 15-20 minutes before using. Cold jam is harder to spread and the flavors aren’t as bright.
Classic uses – Spread on toast, biscuits, scones, or English muffins. It’s also incredible on pancakes, waffles, or French toast. I like to warm a spoonful in the microwave for about 15 seconds and drizzle it over vanilla ice cream or yogurt.
Savory pairings – This jam shines on cheese boards. Try it with sharp cheddar, aged gouda, or creamy brie. It’s also amazing on a sandwich with roasted turkey and brie—trust me on this one. I’ve also used it as a glaze for roasted pork or chicken, and it’s fantastic.
Complementary dishes – Serve alongside a creamy elote-style Mexican street corn salad for a sweet-savory contrast that’ll blow your mind. Or use it as a topping for crispy sheet pan pancake bites for a breakfast that feels special without the fuss.
Storage instructions – Unopened, properly sealed jars will keep in a cool, dark place for up to a year. Once opened, store in the refrigerator and use within 3-4 weeks. I’ve never had a jar last that long because we eat it too fast, but theoretically it’s fine.
Freezer option – You can freeze this jam in freezer-safe containers for up to 6 months. Leave about ½ inch of headspace for expansion. Thaw in the refrigerator overnight before using. The texture might be slightly softer after freezing, but the flavor is still perfect.
Reheating – If your jam crystallizes or gets too thick in the fridge, just microwave a small amount for 10-15 seconds and stir. It’ll smooth right out.
The flavors actually deepen after a few days in the fridge. I think the jam is even better on day three than it is fresh, so don’t worry if you can’t eat it all right away.
Nutritional Information & Benefits
Here’s a rough estimate per 1-tablespoon serving (about 15 grams):
- Calories: 35
- Total Fat: 0g
- Sodium: 1mg
- Total Carbohydrates: 9g
- Sugars: 8g
- Fiber: 0.5g
- Protein: 0g
These values are approximate and will vary based on the exact ingredients and batch size. The sugar content is higher than store-bought jam, but remember that homemade jam doesn’t have preservatives or artificial ingredients.
Health benefits – Blackberries are packed with vitamin C, vitamin K, and antioxidants called anthocyanins that give them that beautiful dark color. These compounds help fight inflammation and support immune health. The balsamic vinegar also contains antioxidants, and the small amount of lemon juice adds a bit of vitamin C.
Dietary considerations – This recipe is naturally gluten-free, dairy-free, nut-free, and vegan. It’s also free from artificial colors and preservatives. If you’re watching your sugar intake, try the low-sugar variation I mentioned earlier.
Potential allergens – None of the common allergens are present in this recipe, but if you have specific concerns, always check your ingredient labels. Some balsamic vinegars may contain sulfites.
I personally love that this jam lets me enjoy something sweet without all the weird ingredients you find in store-bought versions. It’s real food, made from real ingredients, and that just feels better.
Conclusion
This Best Blackberry-Balsamic Jam Recipe is one of those rare recipes that feels both simple and special at the same time. It takes basic ingredients and turns them into something that tastes like you put way more effort in than you actually did. The balsamic vinegar adds this unexpected depth that makes people pause and say “what’s in this?” in the best possible way.
I love that this recipe is forgiving enough for beginners but interesting enough for experienced cooks. You can play with the flavors, adjust the sweetness, or keep it exactly as written—it works either way. Every batch I make turns out a little different depending on the berries, and that’s part of the charm.
If you try this recipe, I’d love to hear how it goes. Leave a comment below and tell me what you used it on, or if you came up with your own variation. Share it with a friend who needs a little homemade goodness in their life. And don’t forget to pin this for later so you can find it when blackberry season rolls around again.
Happy cooking, friend. Your toast is about to get a whole lot more interesting.
Frequently Asked Questions
Can I use frozen blackberries for this jam?
Yes, absolutely. Just thaw them completely first and drain off any excess liquid before starting. Frozen berries tend to be softer, so you might need to cook the jam a few minutes longer to get the right thickness.
Why did my jam turn out too runny?
This usually happens when the jam wasn’t cooked long enough. Next time, cook it until it passes the plate test—a small spoonful on a cold plate should wrinkle when you push it. You can also cook runny jam again by returning it to the pot and boiling for another 5-10 minutes.
Do I really need to sterilize the jars?
If you’re planning to store the jam at room temperature for more than a few weeks, yes. Sterilizing prevents bacteria from growing. But if you’re going to eat it within a month or store it in the fridge, just make sure your jars are clean and you’ll be fine.
Can I reduce the sugar in this recipe?
You can, but it will change the texture and shelf life. Sugar helps the jam set and acts as a preservative. If you reduce it, the jam will be softer and won’t keep as long. Try the low-sugar variation I included above for better results.
How long will homemade jam last once opened?
About 3-4 weeks in the refrigerator. If you see any mold, throw it out immediately. Properly sealed unopened jars can last up to a year in a cool, dark pantry. I always write the date on the lid so I know what’s what.
Pin This Recipe!
Easy Homemade Blackberry Balsamic Jam Recipe
This quick and easy blackberry balsamic jam comes together in under an hour with simple ingredients. The balsamic vinegar deepens the berry sweetness and adds a subtle tang, making it perfect for toast, cheese boards, or gifting.
- Prep Time: 10 minutes
- Cook Time: 30 minutes
- Total Time: 40 minutes
- Yield: 2 pints (4 half-pint jars) 1x
- Category: Condiment
- Cuisine: American
Ingredients
- 4 cups fresh blackberries (about 600 grams)
- 2 cups granulated sugar (400 grams)
- 3 tablespoons balsamic vinegar
- 2 tablespoons fresh lemon juice (about half a lemon)
- Pinch of salt
Instructions
- Rinse the blackberries gently under cold water and pick out any stems or leaves. Pat dry with a clean kitchen towel.
- Put the blackberries in a large heavy-bottomed pot and mash them with a potato masher or the back of a wooden spoon, leaving some berries partially whole for texture.
- Stir in the sugar, lemon juice, and pinch of salt. Let sit for about 5 minutes to macerate.
- Place the pot over medium-high heat and bring to a rolling boil, stirring frequently, about 5-7 minutes.
- Once boiling vigorously, stir in the balsamic vinegar. Reduce heat to medium and continue boiling, stirring often.
- Cook for about 15-20 minutes until the jam darkens, thickens, and looks glossy.
- Test for doneness by placing a small spoonful of jam on a cold plate. Let it sit for 30 seconds, then push it with your finger. If it wrinkles and doesn’t run back together, it’s done. If still runny, cook 2-3 more minutes and test again.
- Remove from heat and let sit for 5 minutes.
- Ladle the hot jam into sterilized jars, leaving about ¼ inch of headspace. Wipe rims clean and screw on lids tightly.
- Let jars cool completely at room temperature. You’ll hear popping sounds as they seal. Once cool, press the center of each lid to ensure it’s sealed.
Notes
Don’t walk away from the pot—sugar content means it can burn quickly. Use a thermometer if nervous; jam is ready at 220°F (105°C) at sea level. Skim foam for clearer jam if desired. Do not double the recipe; make separate batches instead. Hot jam looks thinner than it actually is; it will thicken as it cools. Label jars with the date.
Nutrition
- Serving Size: 1 tablespoon (about
- Calories: 35
- Sugar: 8
- Sodium: 1
- Carbohydrates: 9
- Fiber: 0.5
Keywords: blackberry jam, balsamic jam, homemade jam, easy jam recipe, blackberry balsamic, no pectin jam, small batch jam