Introduction
“You really think those cucumbers are going to turn into pickles overnight?” my cousin laughed when I first told her about trying this quick crisp refrigerator dill pickles recipe. Honestly, I was skeptical myself. I mean, traditional pickling always seemed like a long, slow process that involved weeks of patience and a whole lot of waiting. But one evening, after a last-minute BBQ invite and a near-empty fridge, I decided to give this speedy recipe a shot. The crunch and tang that came out of that jar the very next day was honestly surprising — crisp, punchy, and everything a pickle should be. It felt like cheating, but in the best way possible.
Since then, this recipe has quietly become my secret weapon for last-minute gatherings or that craving for something salty and crunchy without the fuss. I love that it’s not just easy, it actually delivers that satisfying dill pickle flavor and snap in just 24 hours. No boiling, no canning, no stress. Just fresh cucumbers, a few simple ingredients, and a little patience in the fridge. The way those pickles pop with flavor while still holding their crunch is something I didn’t expect from a fridge pickle recipe — it’s honestly the kind of thing you’ll find yourself making again and again, especially when you want fast, fresh, and fuss-free.
So, if you’ve ever thought pickling was complicated or just too slow for the busy cook, this quick crisp refrigerator dill pickles recipe is going to quietly change your mind — and your snack game. It’s the kind of recipe where you don’t have to sacrifice flavor for speed, and that’s why it sticks with me every time.
Why You’ll Love This Recipe
This quick crisp refrigerator dill pickles recipe has been tested multiple times, and I can confidently say it’s a winner for anyone who loves pickles but hates waiting forever. Here’s why it stands out:
- Quick & Easy: Ready to enjoy in just 24 hours, perfect when you need a tangy snack or side dish on short notice.
- Simple Ingredients: No strange chemicals or preservatives—just fresh cucumbers, vinegar, dill, and a few pantry staples.
- Perfect for Beginners: No canning skills required. If you can chop and mix, you’re halfway there.
- Crisp Texture: This recipe nails the crunch with a little trick involving ice water and pickling lime that I swear by.
- Flavor Balance: The garlic, dill, and vinegar are perfectly balanced, so you get bold flavor without it being overpowering.
- Versatile Use: Great for sandwiches, burgers, or just straight out of the jar as a snack.
What makes this recipe different from others is the focus on that crisp snap right out of the fridge, without any long waiting or complicated steps. I’ve tried versions that take days and lose that satisfying crunch, but this method keeps the cucumbers fresh and lively. Honestly, it’s the kind of pickle that makes you close your eyes and savor the bite—a simple pleasure that’s quick, fuss-free, and reliably delicious every time.
What Ingredients You Will Need
This recipe uses simple, wholesome ingredients to give you bold flavor and that classic dill pickle crunch without any fuss. Most of these are pantry staples, so no need for special trips to the store.
- Fresh cucumbers: 4-5 medium Kirby or pickling cucumbers, sliced into spears or rounds (firm and fresh for best crunch)
- White vinegar: 2 cups (480 ml) – the backbone for that tangy bite
- Water: 2 cups (480 ml), preferably filtered or distilled to keep the flavor clean
- Kosher salt: 2 tablespoons (30 g) – avoids iodine taste and helps with crispness
- Granulated sugar: 1 tablespoon (15 g) – balances acidity just right
- Fresh dill: 3-4 sprigs (or 2 tablespoons dried dill if fresh isn’t available; fresh is better for flavor)
- Garlic cloves: 3-4, smashed (adds that signature zing)
- Black peppercorns: 1 teaspoon (whole)
- Mustard seeds: 1 teaspoon (optional, for a subtle depth)
- Red pepper flakes: ¼ teaspoon (optional, if you like a little heat)
- Ice water: 4 cups (950 ml) – used for soaking cucumbers to maximize crunch
Pro tip: I recommend using Mt. Olive or Claussen brand pickling cucumbers if you can find them, as they hold up well and maintain crispness. Also, if you want to try a gluten-free twist, stick with gluten-free vinegar brands. For dairy-free diets, this recipe is naturally free of dairy.
Equipment Needed
- Large mixing bowl: For soaking cucumbers in ice water. A glass or stainless steel bowl works best to avoid any metallic taste.
- Measuring cups and spoons: Accurate measurements matter for the perfect brine balance.
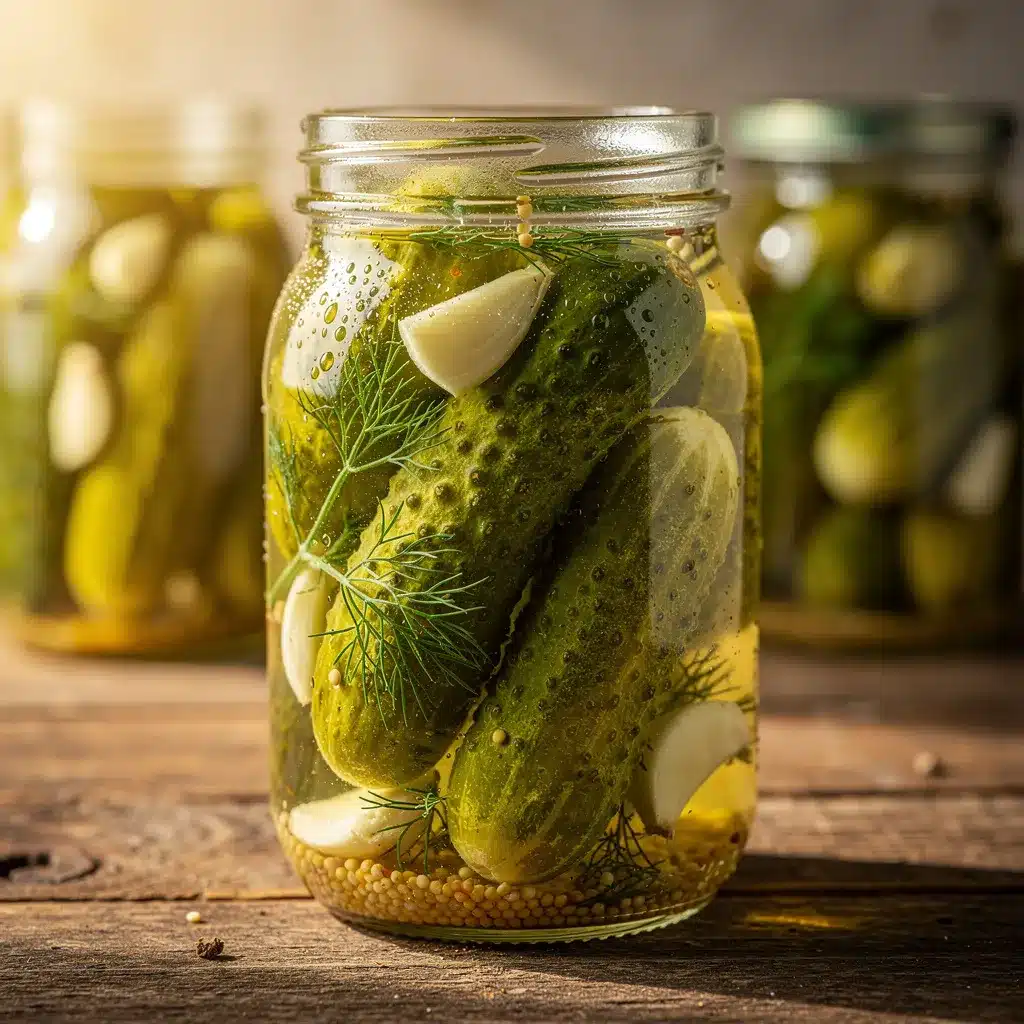
- Quart-sized mason jars or any airtight containers: For storing the pickles in the fridge. Wide-mouth jars make packing the cucumbers easier.
- Small saucepan: To heat the brine mixture and dissolve the salt and sugar.
- Knife and cutting board: For slicing cucumbers and prepping garlic.
If you don’t have mason jars, a clean, sealable plastic or glass container will do, just make sure it seals tightly to keep the pickles fresh. I’ve tried this recipe in both glass and BPA-free plastic containers; glass tends to keep the flavor cleaner. Also, keep your knives sharp—thin, even slices soak better and crisp up nicely.
Preparation Method
- Prepare the cucumbers: Rinse 4-5 medium Kirby cucumbers and slice into your preferred shape—spears or rounds both work (aim for about ¼-inch thick). Place the sliced cucumbers into a large bowl filled with 4 cups (950 ml) of ice water. Soak them for 1 to 2 hours to lock in that crisp texture.
- Make the brine: In a small saucepan, combine 2 cups (480 ml) white vinegar, 2 cups (480 ml) water, 2 tablespoons (30 g) kosher salt, and 1 tablespoon (15 g) granulated sugar. Heat gently over medium heat, stirring until the salt and sugar fully dissolve. Remove from heat and let cool to room temperature.
- Pack the jars: Drain cucumbers from the ice water and pat dry with a clean towel to avoid watering down the brine. Layer the cucumbers into clean quart-sized mason jars or airtight containers. Add 3-4 smashed garlic cloves, 3-4 sprigs of fresh dill, 1 teaspoon black peppercorns, 1 teaspoon mustard seeds (optional), and ¼ teaspoon red pepper flakes (optional) evenly between jars.
- Pour the brine: Once the brine has cooled, pour it over the cucumbers in each jar, making sure they are fully submerged. Leave about ½ inch (1.3 cm) of space at the top for expansion.
- Seal and refrigerate: Close the jars tightly and place them in the refrigerator. Let the pickles sit for at least 24 hours before tasting. The flavor builds as they chill, but you’ll get that fresh crispness right away.
- Enjoy: After 24 hours, open a jar and take a crunchy, tangy bite. The pickles will keep for up to 2 weeks refrigerated, though they’re usually gone before then.
Note: If you want extra crisp pickles, you can add a grape leaf or two into the jar — it’s an old-school trick to keep pickles crunchy. Also, don’t skip the ice water soak step; it’s a game-changer for texture.
Cooking Tips & Techniques
Getting those quick crisp refrigerator dill pickles just right takes a few little tricks I’ve picked up over time. First, soaking cucumbers in ice water is a crucial step that many overlook — it really firms up the cucumbers and keeps them crunchy instead of soggy.
Don’t rush heating the brine; dissolve the salt and sugar fully but avoid boiling vigorously, or you might lose some of the vinegar’s brightness. Always let the brine cool before pouring it over cucumbers to prevent softening the skins prematurely.
I’ve learned that packing the cucumber slices tightly but without smashing them keeps the pickles nicely shaped and evenly flavored. Also, using fresh dill and smashed garlic cloves releases better aromas and flavor compared to dried or powdered versions.
A common mistake is skipping the wait time, but trust me, even 24 hours makes a noticeable difference. If you open the jar too early, the flavor will be mild and the cucumbers less tangy. Patience pays off here!
When juggling kitchen tasks, prepare your cucumbers first and let them soak while you get the brine ready — it saves time and ensures the cucumbers don’t dry out. Plus, cleaning jars while soaking cucumbers keeps your workflow smooth.
Variations & Adaptations
This recipe is wonderfully flexible, so you can customize it to fit your taste or dietary needs.
- Spicy Pickles: Add more red pepper flakes or a sliced jalapeño to the jar for a fiery kick.
- Garlic Lovers: Double the garlic cloves or add a teaspoon of garlic powder to the brine for more punch.
- Low-Sodium Version: Reduce the kosher salt to 1 tablespoon and use a sodium-free seasoning blend to compensate.
- Herb Variations: Swap dill for fresh tarragon or basil for a different herbal note.
- Vegan & Gluten-Free: This recipe is naturally vegan and gluten-free, just check your vinegar brand to be sure.
One time, I tried replacing white vinegar with apple cider vinegar — the pickles took on a slightly sweeter, fruitier note that was surprisingly good with sandwiches. It’s fun to experiment with vinegars if you want to switch things up.
Serving & Storage Suggestions
These quick crisp refrigerator dill pickles are best served chilled straight from the fridge. They make an excellent crunchy side for burgers, sandwiches, or charcuterie boards. Honestly, I love snacking on them right out of the jar while prepping meals.
For storage, keep the pickles tightly sealed in the refrigerator where they’ll stay fresh for up to two weeks. Over time, the flavor deepens and the cucumbers soften a bit, though I recommend enjoying them within the first week for peak crunch.
If you want to warm them slightly, briefly dunk the pickles in warm water or let the jar sit at room temperature for 15 minutes before serving — but cold is definitely where they shine.
Pair these pickles with rich dishes like pulled pork or fried chicken to cut through the richness, or add them to a classic crispy garlic chicken sandwich for that satisfying snap and tang that lifts the whole bite.
Nutritional Information & Benefits
Per serving (about 3 spears), these quick crisp refrigerator dill pickles contain roughly 5 calories, 0 grams fat, 1 gram carbohydrates, and negligible protein. They’re naturally low in calories, making them a guilt-free snack or condiment.
The key ingredients—cucumbers and dill—offer antioxidants and vitamins like vitamin K. The vinegar used aids digestion and may help regulate blood sugar levels. Plus, pickling preserves the cucumbers’ hydrating properties.
This recipe is gluten-free, vegan, and dairy-free, suitable for many dietary needs. Just watch the salt if you’re sodium-sensitive, and enjoy the bold flavor that comes without artificial additives.
Conclusion
This quick crisp refrigerator dill pickles recipe is a game-changer for anyone wanting that classic pickle crunch and tang without the wait or fuss. Whether you’re a kitchen newbie or just short on time, it delivers reliably fresh, flavorful pickles in 24 hours. I love how adaptable it is, letting you tweak flavors to your liking and whip up a batch whenever the pickle craving hits.
Honestly, it’s become a staple in my fridge for a reason — the perfect balance of crunch, tang, and simplicity. Try making your own batch and see how fast you fall for the charm of quick homemade pickles. And if you’ve got your own spin on it, I’d love to hear about your tweaks and ideas in the comments below. Happy pickling!
FAQs
How long do quick refrigerator dill pickles last?
They typically last up to 2 weeks in the refrigerator when stored in airtight jars. For best crunch, enjoy within the first week.
Can I use regular cucumbers instead of pickling cucumbers?
Yes, but pickling cucumbers are firmer and hold up better. Regular cucumbers can be used but may become softer faster.
Do I need to boil the brine?
No need to boil vigorously—just heat enough to dissolve the salt and sugar, then cool before pouring over the cucumbers.
Can I make these pickles spicy?
Absolutely! Adding red pepper flakes or sliced jalapeños to the jar will give your pickles a nice spicy kick.
Why are my pickles not crunchy?
Skipping the ice water soak or using cucumbers that aren’t fresh can cause soft pickles. Also, make sure the brine is fully cooled before adding cucumbers to avoid softening.
Pin This Recipe!
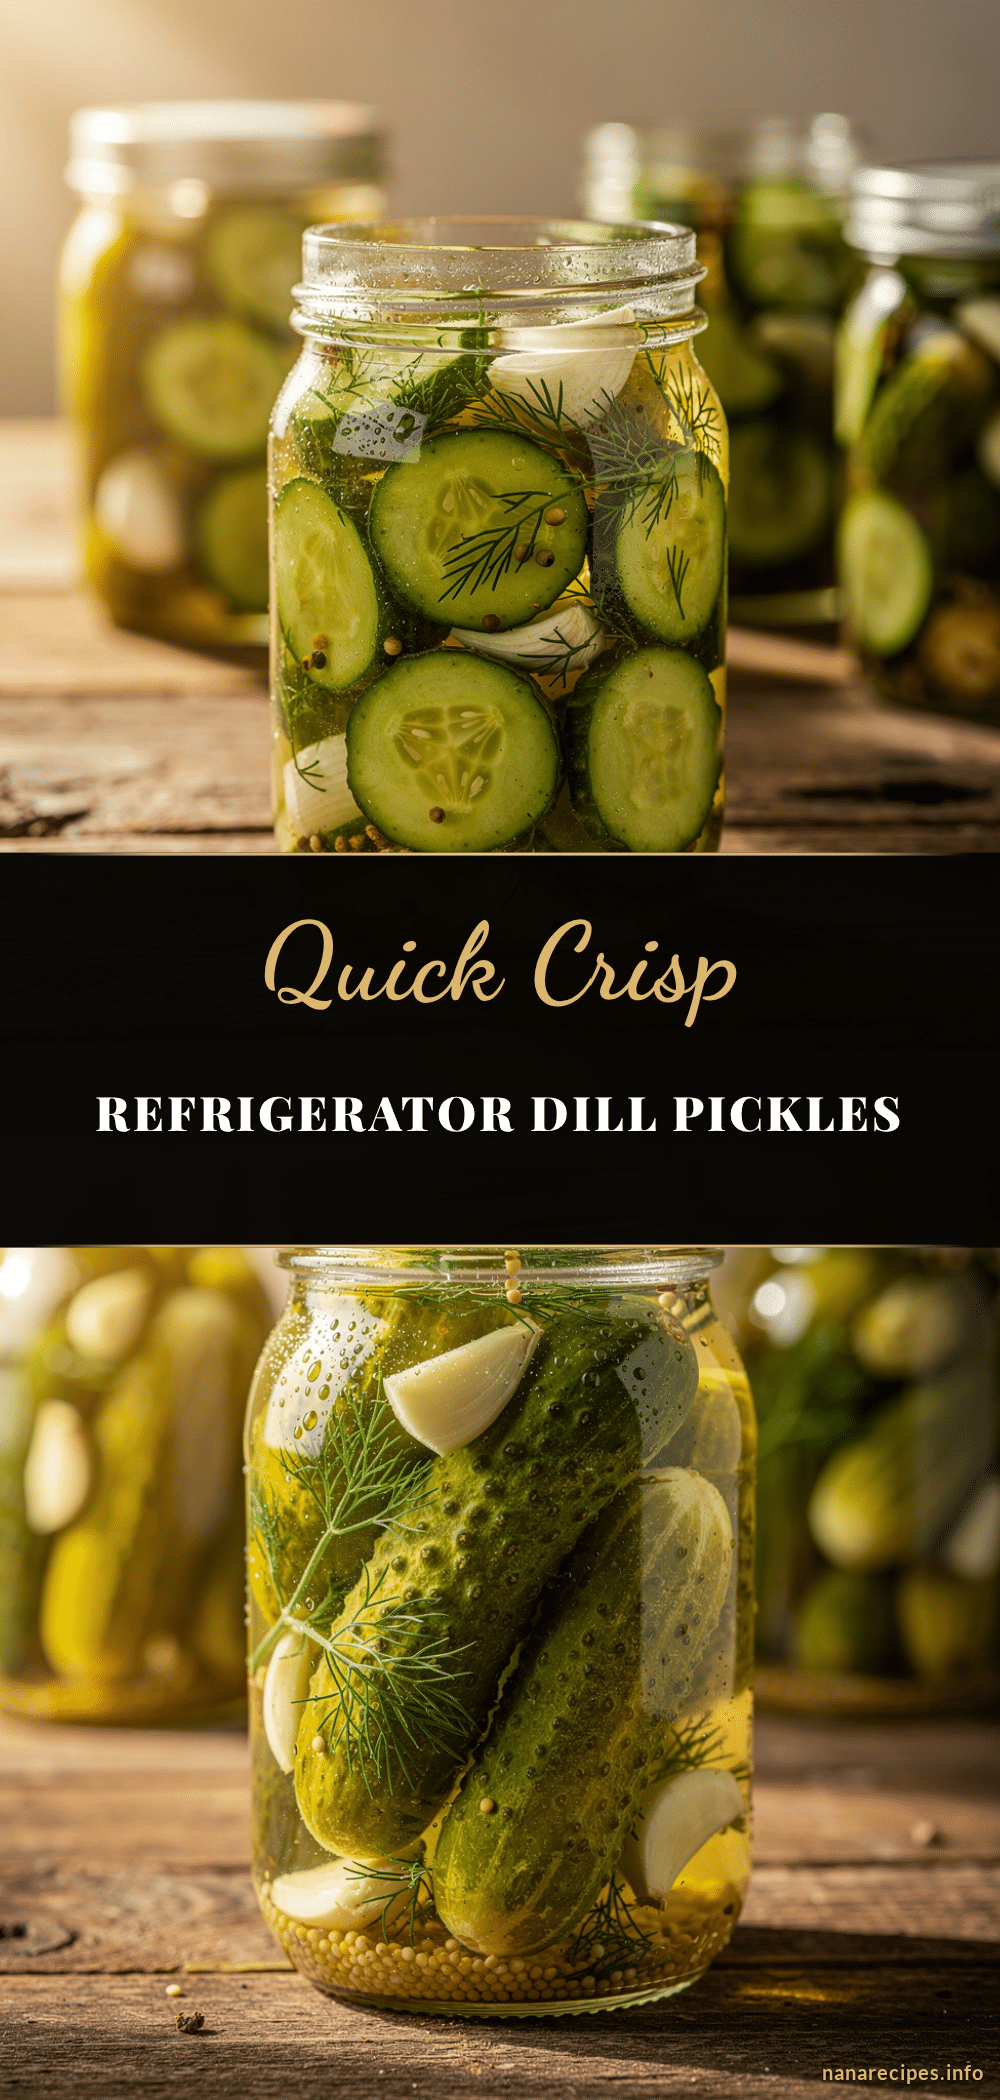
Quick Crisp Refrigerator Dill Pickles Recipe
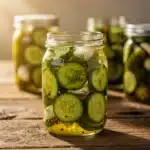
A fast and easy refrigerator dill pickles recipe that delivers crisp, tangy pickles in just 24 hours without boiling or canning. Perfect for beginners and last-minute gatherings.
- Prep Time: 10 minutes
- Cook Time: 10 minutes
- Total Time: 24 hours 20 minutes
- Yield: 4 servings 1x
- Category: Condiment
- Cuisine: American
Ingredients
- 4–5 medium Kirby or pickling cucumbers, sliced into spears or rounds
- 2 cups (480 ml) white vinegar
- 2 cups (480 ml) water, preferably filtered or distilled
- 2 tablespoons (30 g) kosher salt
- 1 tablespoon (15 g) granulated sugar
- 3–4 sprigs fresh dill (or 2 tablespoons dried dill)
- 3–4 garlic cloves, smashed
- 1 teaspoon black peppercorns (whole)
- 1 teaspoon mustard seeds (optional)
- 1/4 teaspoon red pepper flakes (optional)
- 4 cups (950 ml) ice water
Instructions
- Rinse 4-5 medium Kirby cucumbers and slice into spears or rounds about 1/4-inch thick. Place sliced cucumbers into a large bowl filled with 4 cups (950 ml) of ice water. Soak for 1 to 2 hours to lock in crisp texture.
- In a small saucepan, combine 2 cups (480 ml) white vinegar, 2 cups (480 ml) water, 2 tablespoons kosher salt, and 1 tablespoon granulated sugar. Heat gently over medium heat, stirring until salt and sugar dissolve. Remove from heat and cool to room temperature.
- Drain cucumbers from ice water and pat dry with a clean towel to avoid watering down the brine. Layer cucumbers into clean quart-sized mason jars or airtight containers.
- Add 3-4 smashed garlic cloves, 3-4 sprigs fresh dill, 1 teaspoon black peppercorns, 1 teaspoon mustard seeds (optional), and 1/4 teaspoon red pepper flakes (optional) evenly between jars.
- Pour cooled brine over cucumbers in each jar, ensuring they are fully submerged. Leave about 1/2 inch of space at the top for expansion.
- Seal jars tightly and refrigerate. Let pickles sit for at least 24 hours before tasting. Flavor builds as they chill.
- Enjoy chilled straight from the fridge. Pickles keep up to 2 weeks refrigerated, best within the first week for peak crunch.
Notes
Soaking cucumbers in ice water for 1-2 hours is key to achieving crispness. Let the brine cool completely before pouring over cucumbers to prevent softening. For extra crispness, add a grape leaf to the jar. Use fresh dill and smashed garlic for best flavor. Pickles keep best within the first week but last up to two weeks refrigerated.
Nutrition
- Serving Size: About 3 spears
- Calories: 5
- Carbohydrates: 1
Keywords: quick pickles, refrigerator pickles, dill pickles, easy pickling, crisp pickles, no canning, beginner pickles