I was staring down a mountain of blackberries last July. My neighbor, bless her heart, had dropped off a massive basket from her backyard patch. “I picked too many,” she said with a shrug. I knew that was code for “please take these before they rot.” So there I was, at 9 PM on a Tuesday, with three pounds of berries and zero motivation to stand over a hot stove stirring a vat of sugar.
Honestly, I almost froze them. But my freezer is a chaotic black hole where things go to be forgotten. So I grabbed a pot, a jar of honey, and decided to wing it. I figured if it turned into a sad syrup, I’d just pour it over yogurt and call it a win. But something clicked that night. The berries broke down into this deep, jewel-toned jam, and the honey didn’t just sweeten it—it made it taste almost floral. I didn’t miss the sugar one bit.
This Easy Blackberry-Honey No-Sugar Jam has become my secret weapon. I put it on toast, sure, but I’ve also spooned it over vanilla ice cream and swirled it into my morning oatmeal. It sets up perfectly, keeps for weeks in the fridge, and uses exactly three ingredients. It’s the kind of recipe that makes you feel like you cheated the system—because you did.
Why You’ll Love This Recipe
I’ve tested a lot of jam recipes over the years, and most of them fall into two camps: the ones that taste like pure sugar, and the ones that taste like nothing at all. This one lands right in the sweet spot. Here’s why it works.
- No Refined Sugar: This jam is naturally sweetened with honey. You get the real fruit flavor without the sugar crash.
- Just Three Ingredients: Blackberries, honey, and lemon juice. That’s it. No pectin packets, no corn syrup, no weird additives.
- Quick to Make: From start to finish, you’re looking at about 20 minutes of active time. The hardest part is washing the berries.
- Perfect Texture: The honey helps the jam set into a spreadable consistency without being runny or rock-hard.
- Versatile: Use it on pancakes, in yogurt, on cheese boards, or as a filling for thumbprint cookies.
What makes this different from those store-bought “no sugar added” jams? Those usually rely on fruit juice concentrate or artificial sweeteners to fake the flavor. This jam uses real honey, which brings its own complexity. Plus, you control the sweetness. If your berries are super ripe, you can use less honey. If they’re a bit tart, add a touch more. It’s flexible and forgiving—exactly what a good recipe should be.
I love that this jam feels like a small luxury without the guilt. It’s the kind of thing you can keep in the fridge and feel good about eating by the spoonful. No judgment here.
What Ingredients You Will Need
This recipe is as simple as it gets. Every ingredient has a job, and none of them are complicated.
- Fresh or Frozen Blackberries (4 cups / about 600g): The star of the show. Fresh blackberries are ideal if you can get them, especially during summer. Frozen berries work perfectly too—just thaw them first and drain off any excess liquid. I’ve used both, and the flavor is nearly identical. Look for deep, dark berries that smell fragrant.
- Honey (½ cup / 170g): Use a mild honey here. You don’t want something super strong like buckwheat honey to overpower the berries. A good wildflower or clover honey is perfect. If you’re feeling fancy, you can use orange blossom honey for a subtle citrus note. I personally love using local honey—it supports the bees and adds a unique flavor that changes with the season.
- Fresh Lemon Juice (2 tablespoons / 30ml): This isn’t just for flavor. The acidity in the lemon juice helps the jam set and balances the sweetness of the honey. It also keeps the color bright and vibrant. Bottled lemon juice works in a pinch, but fresh is noticeably better.
Optional but helpful: A pinch of salt. Just a tiny pinch (like ⅛ teaspoon) will round out the flavors without making the jam taste salty. I always add it.
Equipment Needed
You don’t need a canning setup or any fancy gadgets for this recipe. Here’s what you’ll need.
- Large Heavy-Bottomed Pot or Dutch Oven: A wide, heavy pot helps the jam cook evenly and prevents scorching. I use my trusty enameled cast iron pot.
- Wooden Spoon or Silicone Spatula: For stirring. Metal can react with the acidity of the berries, so stick with wood or silicone.
- Fine-Mesh Strainer or Food Mill (optional): If you want a seedless jam, you’ll need this. I personally leave the seeds in, but it’s your call.
- Jars with Lids: Glass jars work best. I reuse old jam jars or mason jars. Make sure they’re clean and dry.
- Funnel (optional): Makes pouring the jam into jars way less messy.
If you don’t have a heavy pot, just use the largest saucepan you own and stir more frequently. The key is even heat distribution.
Preparation Method
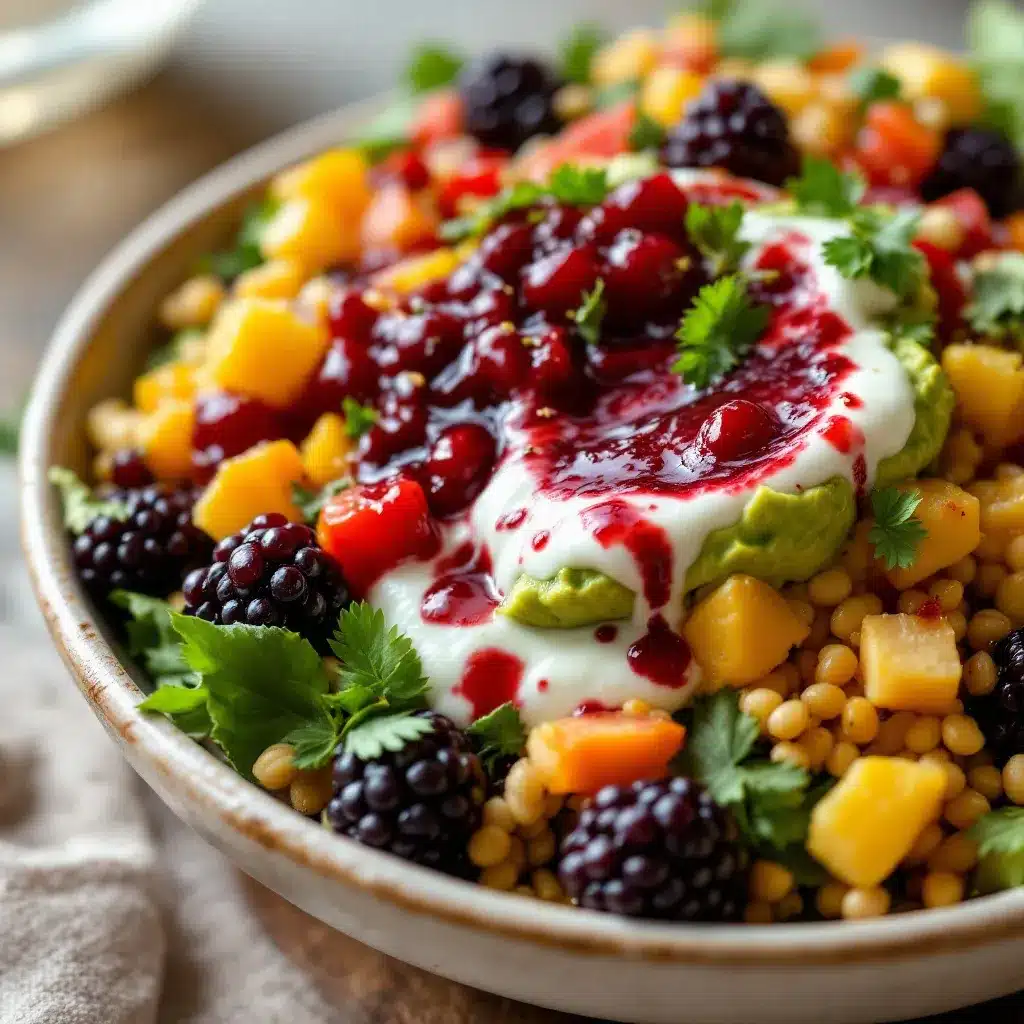
- Prep the berries (5 minutes): Rinse your blackberries under cold water and pick out any stems or leaves. If you’re using frozen berries, let them thaw in a colander for about 30 minutes. Pat them dry gently with a paper towel.
- Mash the berries (5 minutes): Add the blackberries to your pot. Using a potato masher or the back of a fork, mash them to your desired consistency. I like to leave some chunks for texture, but you can mash them completely smooth if you prefer.
- Add honey and lemon juice (1 minute): Pour the honey and lemon juice over the mashed berries. Add your pinch of salt if using. Stir everything together until the honey is fully incorporated.
- Cook the jam (20-25 minutes): Place the pot over medium-high heat. Bring the mixture to a rolling boil—you’ll see big, active bubbles across the surface. Reduce the heat to medium-low and let it simmer. Stir frequently to prevent sticking. The jam will start to thicken and darken in color. You’ll know it’s ready when it coats the back of your spoon and doesn’t run off immediately.
- Test for doneness (1 minute): Place a small plate in the freezer for a few minutes. Drop a teaspoon of jam onto the cold plate. Let it sit for 30 seconds, then run your finger through it. If the jam wrinkles and holds its shape, it’s done. If it’s still runny, cook for another 2-3 minutes and test again.
- Cool and jar (30 minutes): Remove the pot from the heat. Let the jam cool in the pot for about 10 minutes. This helps it thicken a bit more. Using a funnel, pour the jam into your clean jars. Leave about ½ inch of headspace at the top. Let the jars cool completely to room temperature, then screw on the lids.
Pro tip: Don’t walk away from the pot while the jam is cooking. It can go from perfect to burnt in about 30 seconds. Trust me, I learned this the hard way.
Cooking Tips & Techniques
I’ve made this jam at least a dozen times, and here’s what I’ve learned along the way.
Don’t rush the boil. If you don’t bring the mixture to a full, rolling boil, the jam won’t set properly. You need those big, vigorous bubbles to break down the pectin in the berries. It’s not a gentle simmer—it should look like a tiny volcano.
Watch for scorching. Honey is more delicate than sugar and can burn faster. Keep your heat at medium-low after the initial boil, and stir frequently. I stir every minute or so, scraping the bottom of the pot each time.
Skim the foam. As the jam cooks, you’ll see a frothy foam rise to the top. This is just air bubbles and impurities. Use a spoon to skim it off and discard it. This gives you a clearer, prettier jam.
Adjust the sweetness. Taste the jam before you jar it. If it’s too tart for your liking, stir in another tablespoon of honey. If it’s too sweet, add a squeeze more lemon juice. Your taste buds are the final judge.
I once forgot to stir for a full three minutes while answering a text. The bottom of the pot turned into a sticky, black mess. I had to start over. So yes, set your phone down and give the jam your full attention.
Variations & Adaptations
This recipe is a great base for experimenting. Here are a few ways to switch it up.
- Mixed Berry Jam: Swap half the blackberries for raspberries, blueberries, or chopped strawberries. The flavor gets more complex, and the color is gorgeous.
- Spiced Blackberry Jam: Add ½ teaspoon of cinnamon and ¼ teaspoon of cardamom to the pot along with the honey. It gives the jam a warm, cozy vibe that’s perfect for fall. I’ve also tried adding a vanilla bean pod while it cooks, and the result was incredible.
- Seedless Version: After cooking, press the jam through a fine-mesh strainer to remove the seeds. You’ll lose a bit of volume, but you’ll get a silky-smooth spread.
- Low-Sugar Option: If you want even less sweetness, reduce the honey to ⅓ cup. The jam will be tarter and slightly looser, but still delicious.
- Herb-Infused Jam: Add a sprig of fresh rosemary or a few basil leaves to the pot while the jam simmers. Remove them before jarring. The herbal notes pair beautifully with the blackberries.
I tried the rosemary version last summer and slathered it on overnight oats for a week straight. It was a game changer.
Serving & Storage Suggestions
This jam is incredibly versatile. Here’s how to use it and keep it fresh.
Serving: Serve the jam at room temperature for the best spreadability. It’s amazing on buttered toast, English muffins, or scones. Spoon it over Greek yogurt, pancakes, or waffles. It also makes a fantastic glaze for roasted pork or chicken—just brush it on during the last 10 minutes of cooking. For a quick appetizer, spread some on a cracker with a dollop of goat cheese and a drizzle of jam.
Storage: Store the jam in an airtight jar in the refrigerator. It will keep for up to 3 weeks. If you want to keep it longer, you can freeze it for up to 6 months. Just leave a little room in the jar for expansion. Thaw it in the fridge overnight before using.
Canning (for long-term storage): If you want to water-bath can this jam for shelf-stable storage, you’ll need to process the jars in a boiling water bath for 10 minutes. Make sure your jars and lids are sterilized first. The jam will keep for up to a year in a cool, dark pantry. Once opened, refrigerate it.
The flavor actually gets better after a day or two in the fridge. The honey and berries meld together, and the texture firms up nicely. So don’t be discouraged if it seems a little loose when you first jar it.
Nutritional Information & Benefits
This jam is a healthier alternative to traditional sugar-laden jams. Here’s a rough breakdown per 1-tablespoon serving.
Estimated Nutrition per Serving:
- Calories: 25
- Total Fat: 0g
- Carbohydrates: 7g
- Fiber: 1g
- Sugar: 6g (all from honey and fruit)
- Protein: 0g
Health Highlights: Blackberries are packed with vitamin C, fiber, and antioxidants called anthocyanins, which give them their deep purple color. Honey provides natural energy and has antimicrobial properties. This jam is free from refined sugar, high-fructose corn syrup, and artificial preservatives.
Dietary Considerations: This recipe is naturally gluten-free, dairy-free, and vegan (since it uses honey). If you’re strict about avoiding honey, you can substitute maple syrup or agave nectar, though the flavor will change slightly.
I feel good about giving this jam to my kids because I know exactly what’s in it. It’s sweet enough to feel like a treat, but wholesome enough for everyday use.
Conclusion
This Easy Blackberry-Honey No-Sugar Jam is proof that you don’t need a complicated recipe or a bag of sugar to make something delicious. It’s simple, honest, and incredibly rewarding. I love that I can make a batch in under an hour and have a week’s worth of jam ready to go.
Whether you spread it on toast, swirl it into yogurt, or give it away as a homemade gift, this jam is sure to impress. The best part? You can tweak it to your heart’s content. More honey, less honey, add spices, leave them out—it’s your jam now.
I’d love to hear how yours turns out. Drop a comment below and let me know if you tried a fun variation. And if you’re looking for more easy, wholesome recipes, check out this no-bake energy bites recipe for another quick kitchen win. Happy jamming!
Frequently Asked Questions
Can I use frozen blackberries for this jam?
Yes, absolutely. Frozen blackberries work perfectly. Just thaw them first and drain off any excess liquid before mashing. The flavor is almost identical to fresh.
Why did my jam turn out runny?
Your jam probably didn’t cook long enough. The mixture needs to reach a full rolling boil and simmer until it thickens. Use the cold plate test to check for doneness. Also, make sure you’re using enough lemon juice, as the acid helps the jam set.
Can I use a different sweetener instead of honey?
Yes, you can substitute maple syrup or agave nectar. Keep in mind that these are thinner than honey, so you may need to cook the jam a bit longer to achieve the right consistency. The flavor will also be slightly different.
How long does this jam last in the refrigerator?
It will keep for up to 3 weeks in an airtight jar. If you want to keep it longer, you can freeze it for up to 6 months. Thaw it in the fridge before using.
Do I need to use pectin for this recipe?
No, you don’t need pectin. Blackberries naturally contain enough pectin to help the jam set, especially when you cook them with honey and lemon juice. The cooking process and the acid from the lemon do all the work.
Pin This Recipe!
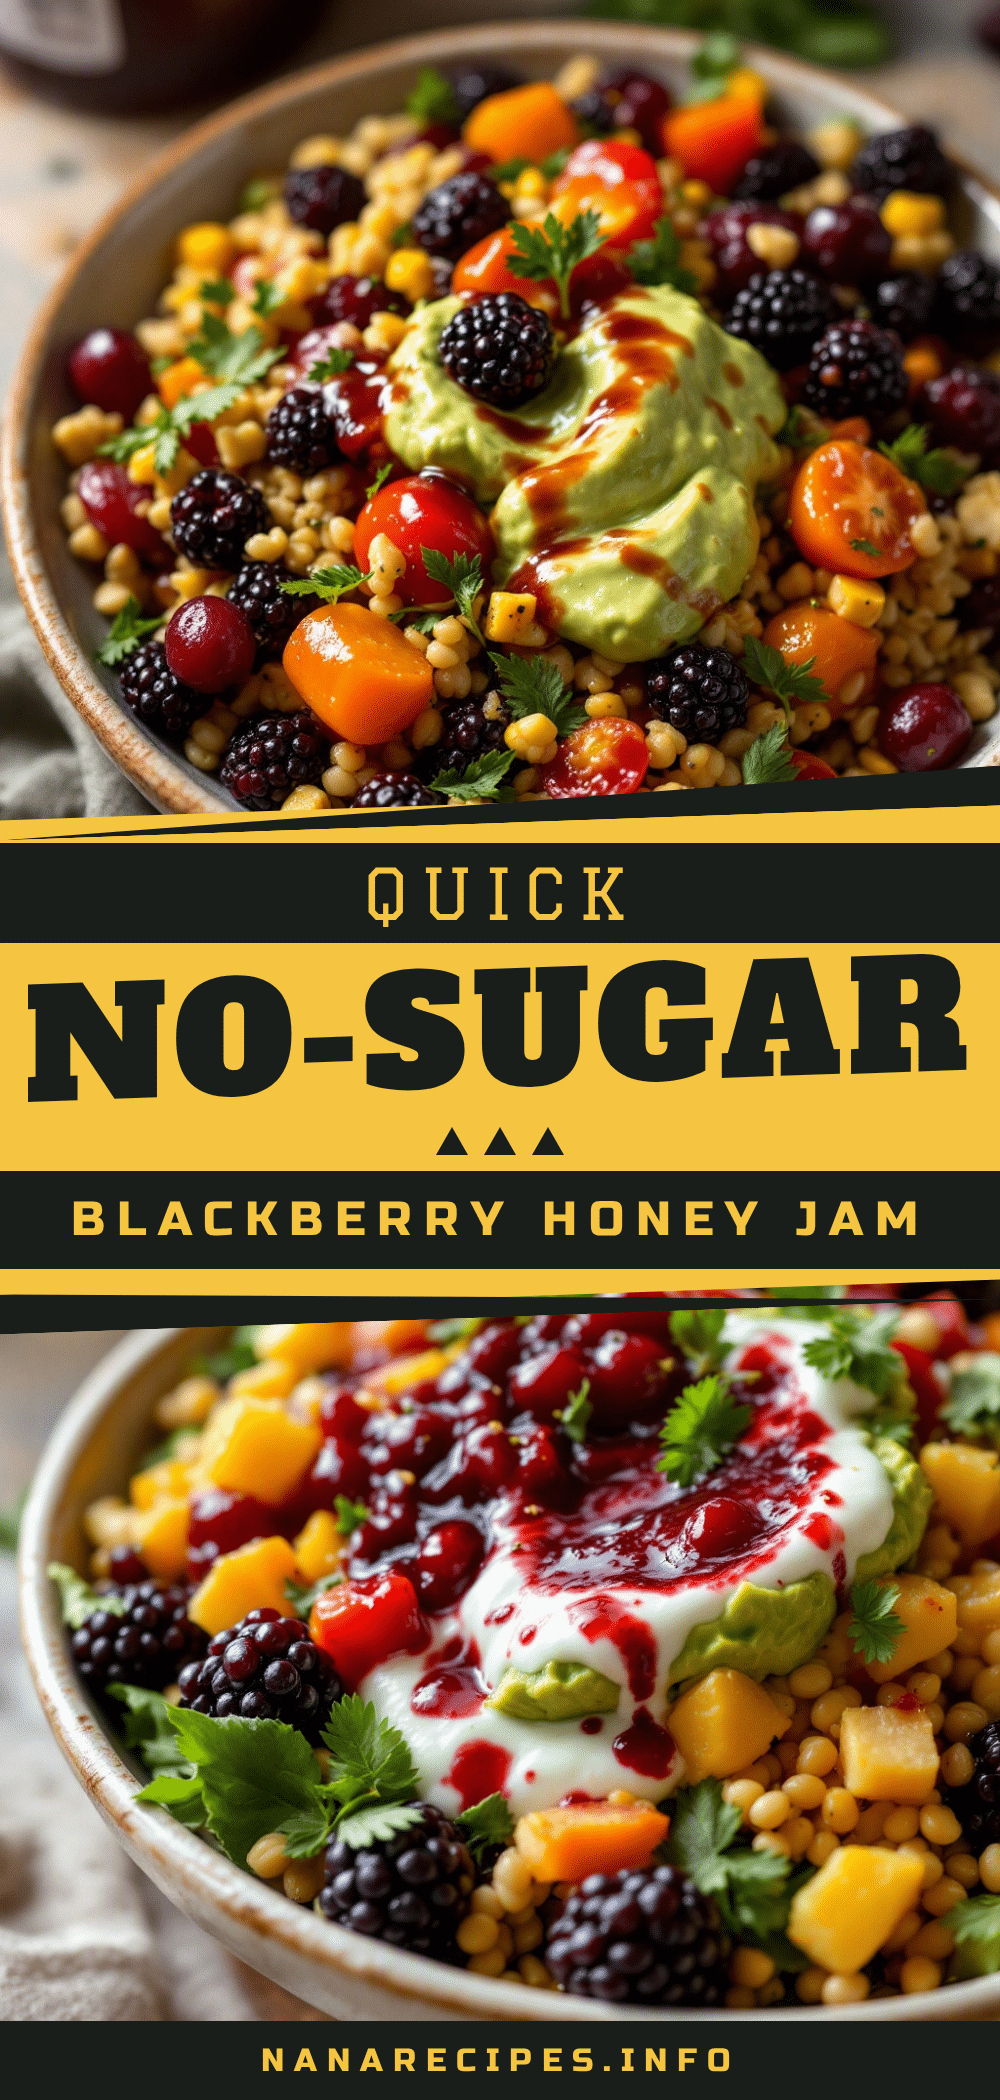
Easy Blackberry-Honey No-Sugar Jam: 3-Ingredient Best Recipe
This Easy Blackberry-Honey No-Sugar Jam is a simple, three-ingredient recipe naturally sweetened with honey. It sets perfectly, keeps for weeks in the fridge, and is perfect on toast, yogurt, or ice cream.
- Prep Time: 10 minutes
- Cook Time: 25 minutes
- Total Time: 35 minutes
- Yield: 4 servings 1x
- Category: Condiment
- Cuisine: American
Ingredients
- 4 cups (about 600g) fresh or frozen blackberries
- ½ cup (170g) mild honey (such as wildflower or clover)
- 2 tablespoons (30ml) fresh lemon juice
- ⅛ teaspoon salt (optional)
Instructions
- Prep the berries: Rinse blackberries under cold water and pick out any stems or leaves. If using frozen berries, thaw in a colander for about 30 minutes and pat dry gently.
- Mash the berries: Add blackberries to a large heavy-bottomed pot. Mash with a potato masher or fork to desired consistency (leave some chunks for texture or mash completely smooth).
- Add honey and lemon juice: Pour honey and lemon juice over mashed berries. Add salt if using. Stir until honey is fully incorporated.
- Cook the jam: Place pot over medium-high heat and bring to a rolling boil. Reduce heat to medium-low and simmer, stirring frequently, for 20-25 minutes until jam thickens and darkens, coating the back of a spoon.
- Test for doneness: Place a small plate in the freezer for a few minutes. Drop a teaspoon of jam onto the cold plate. Let sit for 30 seconds, then run your finger through it. If it wrinkles and holds its shape, it’s done. If runny, cook 2-3 more minutes and test again.
- Cool and jar: Remove pot from heat and let cool for 10 minutes. Using a funnel, pour jam into clean glass jars, leaving ½ inch headspace. Let jars cool completely to room temperature, then screw on lids.
Notes
Don’t walk away from the pot while the jam is cooking; it can burn quickly. Skim off any foam that rises to the top for a clearer jam. The flavor improves after a day or two in the fridge. For long-term storage, water-bath can the jars for 10 minutes.
Nutrition
- Serving Size: 1 tablespoon
- Calories: 25
- Sugar: 6
- Carbohydrates: 7
- Fiber: 1
Keywords: blackberry jam, no sugar jam, honey jam, easy jam recipe, 3-ingredient jam, homemade jam, blackberry honey jam, sugar-free jam