Introduction
“You’ve got to try these pickles,” my friend texted me one rainy afternoon, right when I was staring blankly into my fridge, wondering what to snack on. Honestly, I wasn’t expecting much—bread and butter pickles always sounded a bit too sweet for my taste, and turmeric? That was a wild card. But curiosity got the better of me, and I decided to give this quirky recipe a shot. What happened next was kind of magical. The crisp crunch, the bright tang, and that gentle golden hue from turmeric made these pickles stand out in a way I hadn’t anticipated.
It wasn’t just another jar of pickles; it felt like a little jar of sunshine on a gloomy day. I found myself reaching for them more than once during the week—not just on sandwiches, but straight from the jar. The flavor was balanced, with just the right hit of sweetness and spice, and the turmeric added this earthy warmth that made the whole thing feel unique. This recipe quickly became a staple in my kitchen, especially on busy days when I needed a quick, flavorful snack or a punchy side to round out a meal.
What’s great is that making these bread and butter refrigerator pickles with turmeric doesn’t take a ton of fuss or fancy equipment. They come together fast, letting you enjoy fresh pickles without the wait or worry of canning. And honestly, once you try them, you’ll probably start dreaming up all sorts of ways to use them. This isn’t just a recipe; it’s a game changer for anyone who loves that crisp, tangy bite with a little twist.
Why You’ll Love This Recipe
After testing countless pickle recipes, this one is hands down a keeper. Here’s why it’s become a favorite:
- Quick & Easy: Ready to eat in just 24 hours, perfect for busy weeknights or when you crave something tangy and fresh fast.
- Simple Ingredients: No exotic spices here—just pantry staples like cucumbers, vinegar, sugar, and turmeric, which you might already have on hand.
- Perfect for Sandwiches and Snacks: Adds a sweet-and-spicy crunch that lifts everything from a grilled cheese to a picnic spread.
- Crowd-Pleaser: Everyone from kids to adults loves the familiar bread and butter flavor, with the turmeric twist making it memorable.
- Unbelievably Delicious: The turmeric doesn’t overpower but gently deepens the flavor, giving a warm color and subtle earthiness that sets these pickles apart.
This recipe is not your average bread and butter pickle. The addition of turmeric creates a vibrant color and a subtle complexity that makes you pause and savor each bite. I’ve found that letting the pickles sit for a full two days really lets the flavors harmonize beautifully—plus that golden hue makes them irresistible on any plate. Whether you’re a pickle purist or someone who likes to mix things up, these are definitely worth keeping in your fridge all summer long.
What Ingredients You Will Need
This recipe uses simple, wholesome ingredients to deliver bold flavor and satisfying texture without the fuss. Most are pantry staples, and the turmeric adds a bright, healthy touch.
- Cucumbers: 4 cups thinly sliced Kirby or Persian cucumbers (firm and crunchy types work best)
- Onion: 1 medium yellow onion, thinly sliced (adds a mild sweetness)
- Granulated Sugar: 1 cup (balances the tang and spice)
- White Vinegar: 1 cup (gives that classic pickle tang)
- Water: 1 cup (to mellow the vinegar)
- Salt: 1 tablespoon pickling or kosher salt (enhances flavors)
- Mustard Seeds: 1 tablespoon (adds a subtle, nutty bite)
- Celery Seeds: 1 teaspoon (classic bread and butter pickle seasoning)
- Ground Turmeric: 1 teaspoon (for color and a gentle earthiness; use organic turmeric if possible)
- Ground Black Pepper: 1/2 teaspoon (adds a touch of heat)
- Optional: A pinch of crushed red pepper flakes if you like a little kick
For best results, I recommend using fresh, firm cucumbers and organic turmeric powder. You can find a good quality pickling salt at most grocery stores or online—it’s worth it for that perfect brine. If you want to keep this recipe gluten-free and vegan, it fits the bill perfectly as is. For a low-sugar version, you can reduce the sugar slightly or swap in a natural sweetener like honey or agave, but keep in mind it will change the flavor profile a bit.
Equipment Needed
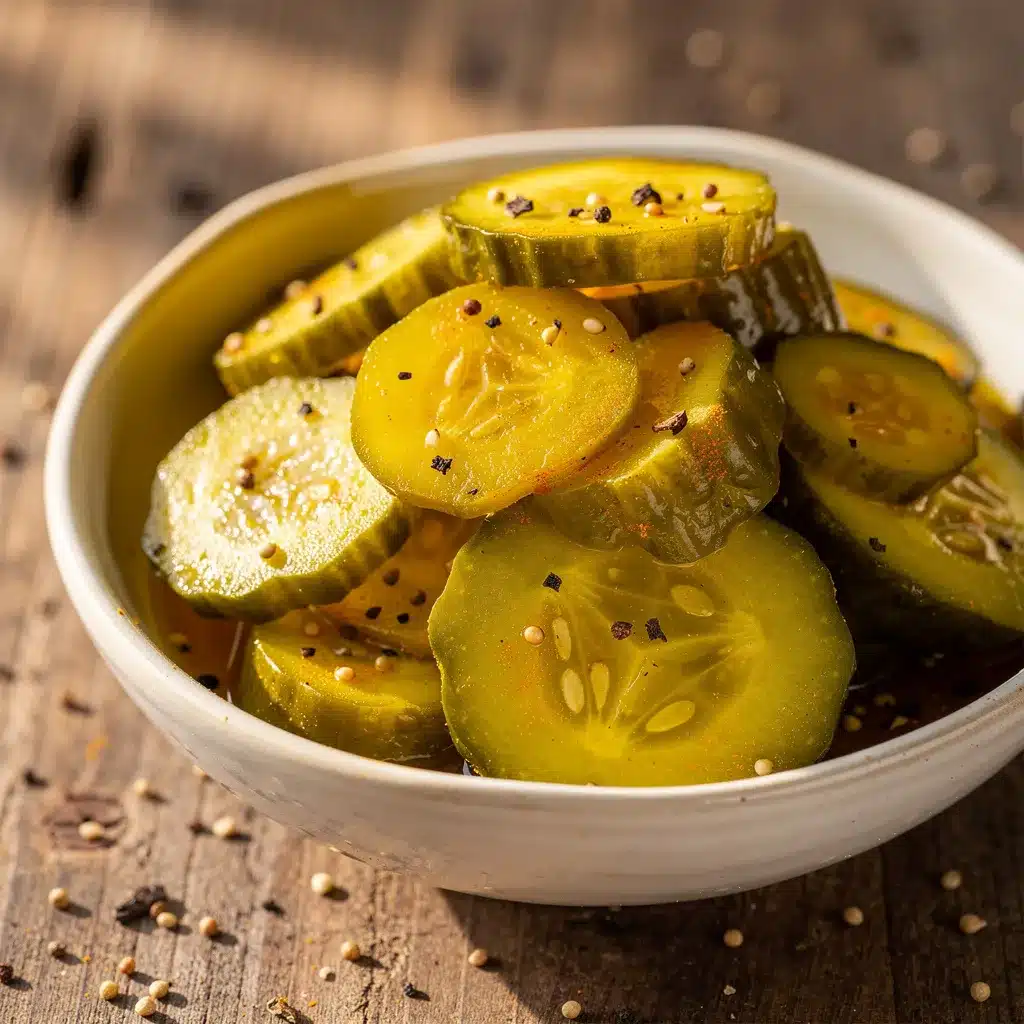
- Large Mixing Bowl: For combining cucumbers and onions evenly with salt.
- Measuring Cups and Spoons: Precise measurements help balance the brine perfectly.
- Medium Saucepan: To heat the pickling liquid and dissolve the sugar and spices.
- Glass Jars or Airtight Containers: At least one quart-sized jar for storing the pickles in the fridge (mason jars work great).
- Sharp Knife or Mandoline Slicer: For thin, even cucumber slices—mandolines really speed this part up, but a sharp knife works fine if you’re careful.
If you don’t have a mandoline, no worries—just take your time slicing thinly with a knife. I’ve used everything from vintage mason jars to modern BPA-free plastic containers to keep these pickles fresh, and honestly, both work just fine. Just make sure whatever you use seals tightly so the flavors stay locked in. Keeping your jars clean and sterilized (a quick hot water rinse) helps the pickles last longer and taste their best.
Preparation Method
- Prepare the Cucumbers and Onions: Rinse cucumbers well, then slice them thinly—about 1/8 inch thick is ideal. Peel and thinly slice the onion. Place cucumbers and onions in a large bowl and sprinkle with 1 tablespoon pickling salt. Toss to combine, then let sit for 1 hour. This draws out excess water and keeps the pickles crisp.
- Make the Brine: While the cucumbers sweat, combine 1 cup water, 1 cup white vinegar, and 1 cup granulated sugar in a medium saucepan. Add 1 tablespoon mustard seeds, 1 teaspoon celery seeds, 1 teaspoon turmeric, 1/2 teaspoon black pepper, and optional crushed red pepper flakes. Bring to a simmer over medium heat, stirring until sugar dissolves—about 3 to 5 minutes. Remove from heat and let cool slightly.
- Drain and Rinse: After the cucumbers and onions have rested, drain the excess liquid using a colander. Give them a quick rinse under cold water to remove excess salt, then gently pat dry with a clean kitchen towel or paper towels.
- Combine and Jar: Transfer the cucumber and onion mixture into a clean quart-sized glass jar or airtight container. Pour the warm (not boiling) brine over the cucumbers, making sure everything is submerged. You might need to press down gently to release air pockets.
- Cool and Refrigerate: Let the jar cool to room temperature before sealing with a lid. Place it in the refrigerator for at least 24 hours before tasting. The flavor improves over 2 to 3 days, so patience pays off!
- Enjoy: These pickles are ready to eat straight from the fridge. Keep refrigerated and consume within 2 to 3 weeks for best flavor and crunch.
Sometimes I like to make a double batch because the pickles disappear fast around here. If you want them extra crisp, you can add a few grape leaves or a pinch of alum to the jar, but I usually skip this step and still get great crunch. Also, avoid heating the brine too long or boiling vigorously—that can dull the turmeric’s bright color and flavor.
Cooking Tips & Techniques
Here are some things I’ve learned from making these pickles a few too many times:
- Slice Thin and Even: Consistent slices mean your pickles soak evenly in the brine. Using a mandoline speeds this up, but a sharp knife works with a bit more patience.
- Don’t Skip the Salt Soak: The salt step is key for keeping those pickles crunchy. It pulls out moisture and prevents sogginess.
- Warm (Not Boiling) Brine: Heating the brine just enough to dissolve sugar and meld spices avoids cooking the cucumbers, keeping them crisp and fresh.
- Patience Is a Virtue: Letting the pickles sit for at least 24 hours, ideally 2-3, helps the flavors meld perfectly. The turmeric’s color deepens too, making the jar look beautiful.
- Keep Them Submerged: If the cucumbers float, press them down or add a clean weight to keep everything submerged to avoid discoloration or spoilage.
My first batch was a little too sweet because I rushed and added more sugar than called for—lesson learned! Also, I found that storing the pickles near the back of the fridge keeps the temperature steady, preserving the crunch longer. Multitasking while these marinate is easy—just toss together a crispy garlic chicken or a fresh salad, and dinner’s set.
Variations & Adaptations
This recipe is flexible and adapts well to your taste or dietary needs:
- Spicy Kick: Add 1-2 sliced jalapeños or extra red pepper flakes for a fiery version that pairs great with burgers or tacos.
- Low-Sugar Version: Substitute sugar with honey or maple syrup, but reduce by about 1/4 cup to keep sweetness balanced.
- Herb Infusion: Toss in fresh dill, thyme, or even a bay leaf for extra aroma and complexity.
- Vinegar Swap: Try apple cider vinegar for a fruitier tang or rice vinegar for a milder bite.
- Turmeric Fresh: Use freshly grated turmeric root instead of powder for a more intense color and earthier flavor—just be sure to wear gloves to avoid stains.
One time, I swapped out cucumber for thinly sliced zucchini in the summer, and it worked surprisingly well—lighter but still crisp. If you’re gluten-free or vegan, this recipe is already perfect, but feel free to experiment with less sugar or alternative sweeteners to suit your needs. If you want to try a different cooking method, these pickles are also lovely lightly warmed in a pan for a quick sauté to soften them into a tangy side dish.
Serving & Storage Suggestions
These pickles are best served cold or at room temperature. They shine as a crunchy side for sandwiches, burgers, or alongside a cheese plate. I love pairing them with creamy dishes like classic macaroni and cheese or tangy smoked meats—they cut through richness beautifully.
Store your pickles in the fridge in a sealed jar or container, making sure they stay submerged in the brine to maintain freshness. They keep well for about 2 to 3 weeks, though I promise they rarely last that long in my house!
To reheat, if you want warm pickles, gently sauté a few slices in a pan with a little butter or olive oil for a minute or two—this softens them and deepens flavors, perfect for cozy breakfasts or topping a warm sandwich.
Over time, the flavors mellow and blend, so if you can wait a few days, you’ll get a richer, more harmonious taste. Just keep them refrigerated and always use a clean fork to avoid contamination.
Nutritional Information & Benefits
These bread and butter refrigerator pickles are low in calories and fat, with roughly 20 calories per serving (about 1/4 cup). The turmeric adds a healthy dose of antioxidants and has anti-inflammatory properties, making this pickle a bit of a nutrient boost beyond just flavor. Cucumbers are hydrating and provide vitamin K, while the vinegar supports digestion.
This recipe is naturally gluten-free and vegan-friendly. Be mindful of sugar content if you’re watching carbs, but you can adjust sweetness easily. For those with allergies, this recipe avoids common allergens like nuts and dairy.
Personally, I appreciate having a tasty, gut-friendly condiment that feels like a treat but fits into a wholesome eating plan. These pickles make it easier to add flavor and crunch to simple meals without extra calories or artificial ingredients.
Conclusion
If you’re looking for a simple, flavorful pickle recipe that stands out from the usual, these bread and butter refrigerator pickles with turmeric are an easy winner. They bring that perfect balance of sweet, tangy, and earthy spice that makes you want to keep a jar handy at all times.
Feel free to tweak the seasonings or sweetness to suit your taste, but honestly, I’ve found this version to be just right—bright, crunchy, and satisfying. They’ve become a go-to in my kitchen, especially when I want something quick and delicious with minimal effort.
Give this recipe a try and see how it changes your pickle game. I’d love to hear how you customize it or what dishes you enjoy it with—let’s swap ideas!
Happy pickling, and here’s to adding a little golden crunch to your fridge.
FAQs
How long do these refrigerator pickles last?
Stored properly in the fridge, they stay fresh and crunchy for about 2 to 3 weeks.
Can I use regular cucumbers instead of Kirby or Persian?
You can, but firmer cucumbers like Kirby or Persian hold up better and stay crisp longer.
Is it necessary to rinse the cucumbers after salting?
Yes, a quick rinse removes excess salt that can make the pickles overly salty.
Can I make these pickles without turmeric?
You can skip turmeric, but it adds a lovely color and subtle flavor that makes these pickles special.
Do I need to sterilize the jars before making refrigerator pickles?
It’s a good habit to rinse jars with hot water to ensure cleanliness, but strict sterilization isn’t required since these pickles are stored in the fridge and consumed relatively quickly.
Pin This Recipe!
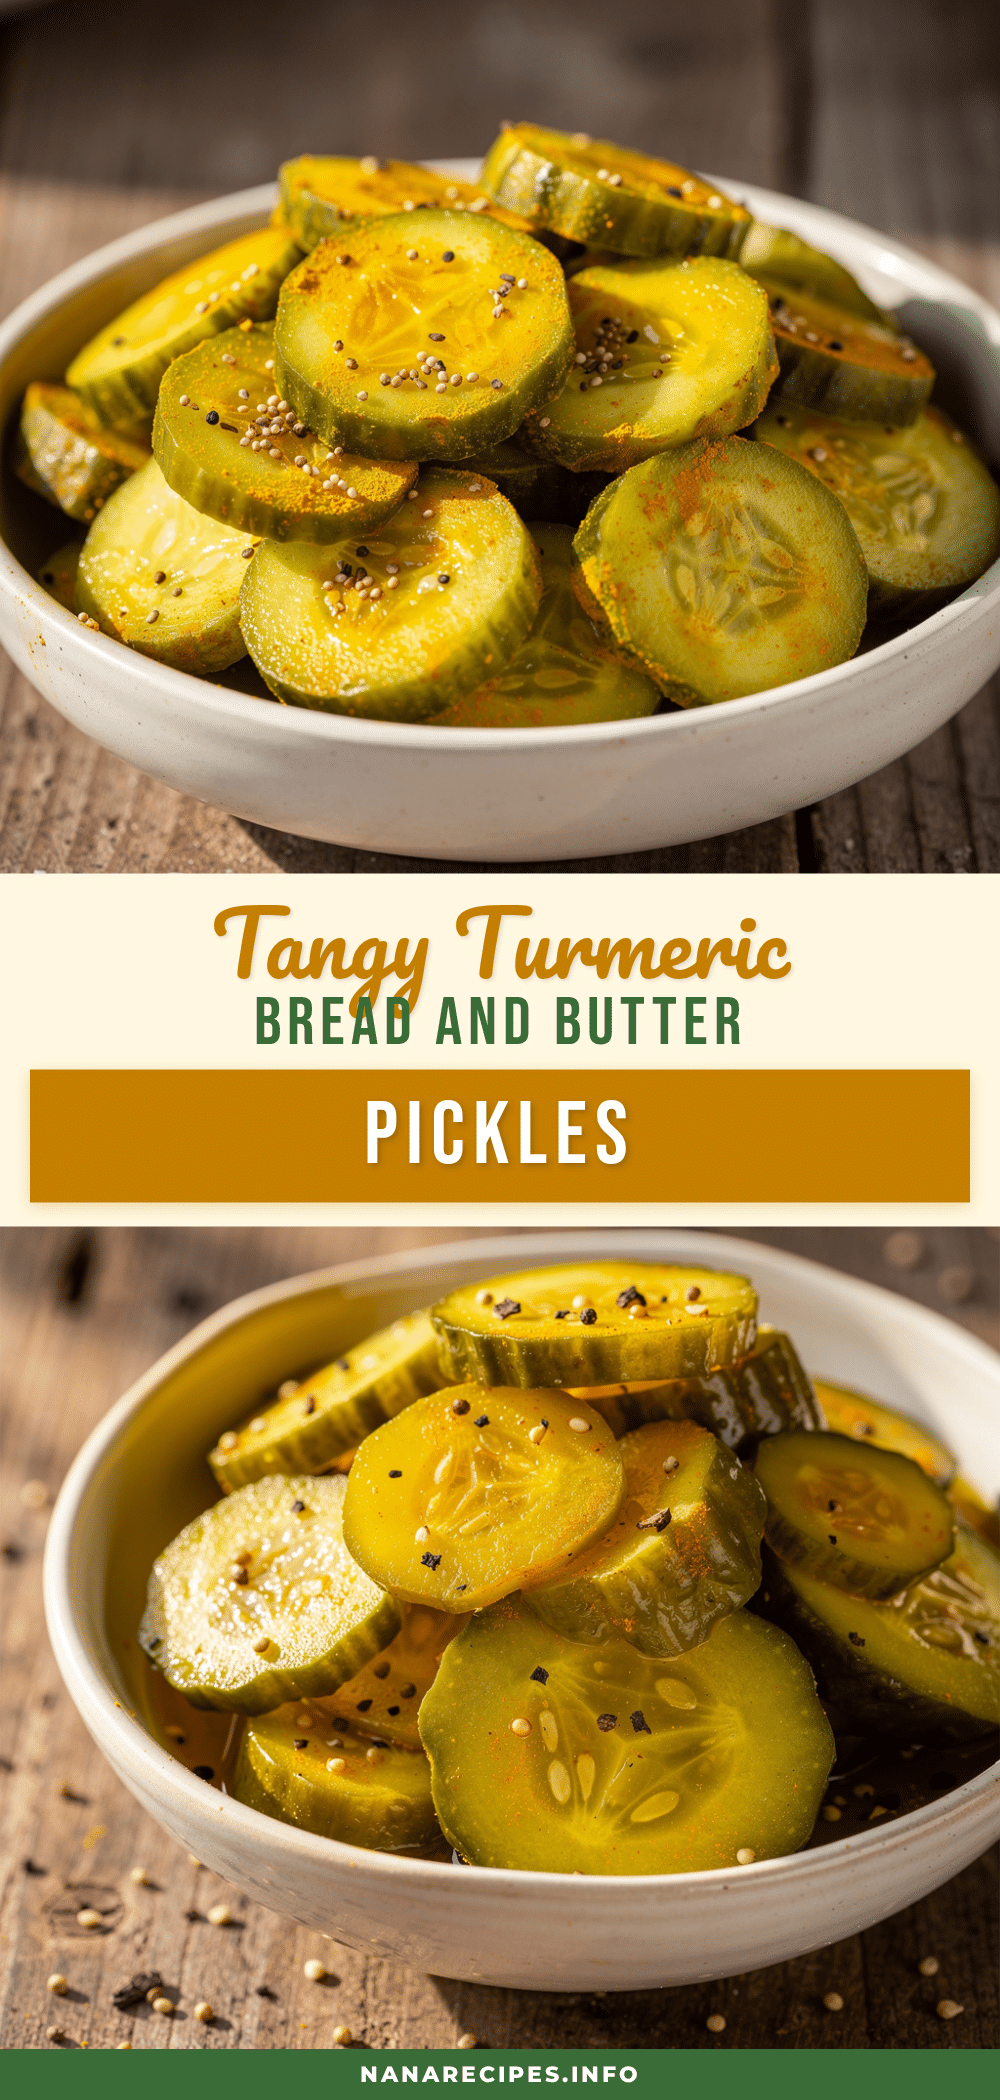
Flavorful Bread and Butter Refrigerator Pickles with Turmeric

These bread and butter refrigerator pickles with turmeric offer a crisp, tangy bite with a subtle earthy warmth and vibrant golden color. Ready in 24 hours, they are perfect for quick snacks or as a flavorful side.
- Prep Time: 1 hour 15 minutes
- Cook Time: 5 minutes
- Total Time: 1 hour 20 minutes plus 24 hours refrigeration
- Yield: About 4 cups (approximately 8 servings) 1x
- Category: Condiment
- Cuisine: American
Ingredients
- 4 cups thinly sliced Kirby or Persian cucumbers
- 1 medium yellow onion, thinly sliced
- 1 cup granulated sugar
- 1 cup white vinegar
- 1 cup water
- 1 tablespoon pickling or kosher salt
- 1 tablespoon mustard seeds
- 1 teaspoon celery seeds
- 1 teaspoon ground turmeric
- 1/2 teaspoon ground black pepper
- Optional: pinch of crushed red pepper flakes
Instructions
- Rinse cucumbers well, then slice thinly about 1/8 inch thick. Peel and thinly slice the onion. Place cucumbers and onions in a large bowl and sprinkle with 1 tablespoon pickling salt. Toss to combine and let sit for 1 hour to draw out excess water.
- While cucumbers sweat, combine 1 cup water, 1 cup white vinegar, and 1 cup granulated sugar in a medium saucepan. Add 1 tablespoon mustard seeds, 1 teaspoon celery seeds, 1 teaspoon turmeric, 1/2 teaspoon black pepper, and optional crushed red pepper flakes. Bring to a simmer over medium heat, stirring until sugar dissolves (3-5 minutes). Remove from heat and let cool slightly.
- Drain cucumbers and onions using a colander. Rinse under cold water to remove excess salt, then gently pat dry with a clean towel or paper towels.
- Transfer cucumber and onion mixture into a clean quart-sized glass jar or airtight container. Pour the warm (not boiling) brine over the cucumbers, ensuring they are fully submerged. Press down gently to release air pockets if needed.
- Let the jar cool to room temperature before sealing with a lid. Refrigerate for at least 24 hours before tasting. Flavor improves over 2 to 3 days.
- Enjoy pickles straight from the fridge. Keep refrigerated and consume within 2 to 3 weeks for best flavor and crunch.
Notes
Use firm cucumbers like Kirby or Persian for best crunch. Slice cucumbers thin and even for consistent soaking. Do not boil brine vigorously to preserve turmeric color and flavor. Let pickles sit for 2-3 days for best flavor. Keep cucumbers submerged in brine to avoid spoilage. Optional: add grape leaves or alum for extra crispness. For low-sugar version, reduce sugar or substitute with honey or agave syrup.
Nutrition
- Serving Size: 1/4 cup
- Calories: 20
- Sugar: 4
- Sodium: 300
- Carbohydrates: 5
- Fiber: 0.3
Keywords: bread and butter pickles, refrigerator pickles, turmeric pickles, quick pickles, easy pickle recipe, homemade pickles, tangy pickles, crunchy pickles