“You’ve got to try this pumpkin sourdough,” my neighbor texted me one chilly October afternoon. Honestly, I was skeptical. I’ve baked plenty of sourdough loaves, but pumpkin? It sounded like a dessert masquerading as bread. Still, the idea of something cozy, a little nutty, and perfect for crisp fall mornings was too good to ignore. So, I pulled out my sourdough starter and gave it a go. Turns out, the subtle sweetness of pumpkin paired with the tangy depth of sourdough and a surprise crunch from toasted pepitas made it the kind of bread you want to slice thick, slather with butter, and savor by the window while leaves fall outside. I ended up making this loaf three times in one week—trust me, it’s that good.
What stuck with me wasn’t just the flavor but the way the bread felt like a quiet nod to the season—warm, a bit rustic, and inviting. The pepitas add that perfect crackle, making every bite interesting. This recipe isn’t about fussing over complicated steps; it’s about capturing the essence of fall with simple ingredients and a little patience. If you’re anything like me, this pumpkin sourdough bread will become your go-to comfort baking project as the days get shorter and the air crisper.
Why You’ll Love This Cozy Pumpkin Sourdough Bread Recipe
This pumpkin sourdough bread recipe has been thoroughly tested in my kitchen (and my neighbor’s, too!). It’s a blend of tradition and a touch of seasonal flair that feels just right for fall.
- Quick & Easy: While sourdough takes some time to rise, the hands-on work is straightforward, coming together in under 30 minutes.
- Simple Ingredients: No need for fancy pumpkin spice blends or hard-to-find items—just real pumpkin, flour, and your trusty sourdough starter.
- Perfect for Fall Mornings: It’s ideal for slow weekend breakfasts or pairing with a hot mug of cider.
- Crowd-Pleaser: Every time I bring this bread to a gathering, it vanishes quickly—and I’m always asked for the recipe.
- Unbelievably Delicious: The moist crumb with subtle pumpkin flavor combined with the tang of sourdough is comfort food with a twist.
This isn’t just another pumpkin bread. The sourdough fermentation adds depth and complexity, while the toasted pepitas provide a satisfyingly crunchy texture that keeps you coming back for more. Honestly, it’s one of those recipes that makes you pause and appreciate slow baking, perfect for anyone who loves the interplay of sweet and savory in their bread.
What Ingredients You Will Need
This recipe uses simple, wholesome ingredients to deliver bold flavor and satisfying texture without fuss. Most are pantry staples, with pumpkin adding a seasonal touch.
- Active sourdough starter: 100g (fed and bubbly) – the heart of your loaf
- All-purpose flour: 350g (about 3 cups) – I prefer King Arthur for consistency
- Whole wheat flour: 50g (about 1/3 cup) – adds nuttiness and depth
- Pure pumpkin puree: 150g (about 2/3 cup) – use canned or fresh, no added sugar
- Warm water: 200g (about 7 oz) – room temperature or slightly warm to encourage fermentation
- Salt: 10g (about 2 tsp) – balances sweetness and strengthens gluten
- Honey or maple syrup: 15g (1 tbsp) – optional, for a touch of natural sweetness
- Pepitas (pumpkin seeds): 50g (about 1/3 cup) – toasted for that irresistible crunch
- Optional: A pinch of cinnamon or ground nutmeg for subtle warmth
If you want a gluten-free twist, swapping the all-purpose flour for a blend of almond and oat flours can work, but expect a denser loaf. For dairy-free and vegan-friendly options, honey can be swapped with maple syrup without changing the rise and flavor.
Equipment Needed
- A large mixing bowl – glass or stainless steel works best
- Digital kitchen scale – precise measurements really make a difference in sourdough baking
- Dutch oven or heavy oven-safe pot with lid – crucial for getting that perfect crust
- Bench scraper or spatula – helps with folding and shaping the dough
- Kitchen towel or plastic wrap – to cover the dough during proofing
- Cooling rack – to let your loaf breathe after baking
If you don’t have a Dutch oven, a heavy baking sheet with an oven-safe bowl to trap steam can work as a budget-friendly alternative. I once baked this loaf on a pizza stone with a pan of water below to create steam; the crust came out beautifully crisp. Maintaining your sourdough starter’s health is key, so keep it fed and lively for best results.
Preparation Method
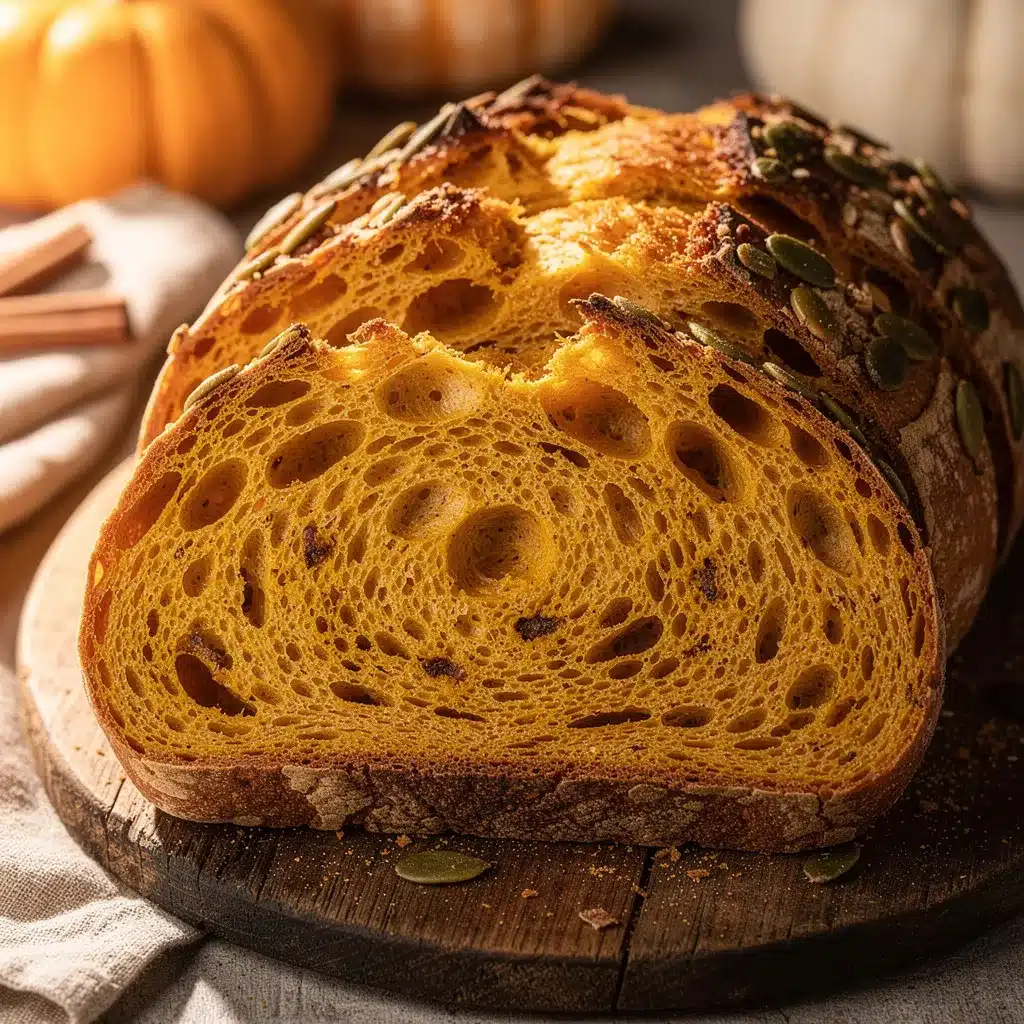
- Mix the dough: In your large bowl, combine 350g all-purpose flour, 50g whole wheat flour, and 10g salt. In a separate container, whisk together 150g pumpkin puree, 200g warm water, 100g active sourdough starter, and 15g honey (if using). Pour wet ingredients into the dry and stir until just combined—don’t overmix. The dough will be sticky and shaggy. (About 5 minutes)
- First rest (autolyse): Cover the bowl with a towel and let it rest for 45 minutes. This hydrates the flour and starts gluten development without kneading.
- Stretch and fold: Wet your hands, then reach under the dough, stretch it gently upwards and fold over the top. Rotate the bowl and repeat 3-4 times. Cover again and repeat this stretch and fold every 30 minutes for 2 hours total. This builds dough strength and develops the sourdough’s signature texture.
- Add pepitas: After the last fold, gently fold in 50g toasted pepitas. Use a spatula or your hands to distribute evenly without deflating the dough.
- Bulk fermentation: Let the dough rise at room temperature (around 70°F/21°C) for 4-6 hours until it’s puffy and airy. You’ll see bubbles forming on the surface, a good sign the fermentation is working.
- Shape the loaf: Lightly flour your work surface and turn the dough out. Shape it into a tight round boule by folding edges into the center and then flipping it seam side down. Use your hands to create surface tension by pulling the dough towards you on the counter.
- Final proof: Place the shaped dough into a well-floured banneton or bowl lined with a clean kitchen towel. Cover and proof in the fridge overnight (8-12 hours) or at room temperature for 2-3 hours until puffed but not doubled.
- Preheat oven: Place your Dutch oven (with lid) in the oven and preheat to 475°F (245°C) for at least 30 minutes. This ensures a hot environment for baking.
- Bake: Carefully transfer the dough onto parchment paper and score the top with a sharp blade or knife. Place the dough (with parchment) into the hot Dutch oven, cover with the lid, and bake for 20 minutes. Remove the lid and bake another 20-25 minutes until deep golden brown and crusty.
- Cool: Transfer the bread to a cooling rack and let it rest for at least 2 hours before slicing. This resting time lets the crumb set properly.
Note: If your dough feels too wet during shaping, dust your hands lightly with flour instead of adding too much flour to the dough. Also, scoring the bread properly helps it expand in the oven instead of bursting unpredictably.
Cooking Tips & Techniques
One trick I learned the hard way is patience during fermentation. Rushing the rise leads to dense bread, while letting the dough develop flavor slowly creates that signature sourdough tang. Don’t skip the overnight fridge proof; it really deepens flavor and improves texture.
When folding the dough, keep your hands wet to prevent sticking, and be gentle—this helps keep the air bubbles intact for a lighter crumb. Toasting the pepitas before folding them in makes a big difference; raw seeds can taste a bit bland and won’t add that satisfying crunch.
Also, don’t underestimate the power of a hot Dutch oven. If you don’t have one, covering your bread with a large heatproof bowl during the first 20 minutes of baking traps steam and helps develop a crisp crust.
Finally, resist the urge to slice the bread right out of the oven. It’s tempting, but letting it cool completely prevents the crumb from becoming gummy. It’s worth the wait every time.
Variations & Adaptations
- Spiced Pumpkin Bread: Add 1 tsp cinnamon and 1/2 tsp nutmeg to the flour mix for a warm, cozy flavor.
- Seed Mix: Swap pepitas for a mix of sunflower seeds, flax seeds, and chia for extra texture and nutrition.
- Gluten-Free: Use a gluten-free sourdough starter with almond and oat flour blends. Expect a denser loaf but still tasty.
- Sweet Twist: Fold in 1/3 cup dried cranberries or raisins along with the pepitas for a hint of sweetness.
- Whole Grain Boost: Increase whole wheat flour to 100g and reduce all-purpose flour accordingly for a nuttier loaf.
Personally, I’ve tried adding a swirl of cream cheese and pumpkin spice before folding, which was a fun surprise for weekend brunch. Feel free to experiment—this bread is forgiving and welcomes your personal touch.
Serving & Storage Suggestions
This pumpkin sourdough bread is best served at room temperature with a pat of butter or a drizzle of honey. It pairs wonderfully with warm soups, roasted veggies, or even a smear of sharp cheddar. For fall gatherings, slice it thick and serve alongside a hearty chili or stew.
Store leftover bread wrapped loosely in a kitchen towel or paper bag at room temperature for up to 3 days. Avoid plastic bags, or the crust will soften. For longer storage, slice and freeze the loaf in airtight bags—toast slices straight from the freezer for a fresh-baked feel.
Reheating in a toaster oven or regular oven (at 350°F/175°C for 5-7 minutes) revives the crust’s crunch. Over time, the pumpkin flavor deepens, so if you’re lucky enough to have leftovers after a day or two, it tastes even better.
Nutritional Information & Benefits
Each slice (about 80g) of this pumpkin sourdough bread packs roughly 180 calories, 5g protein, 2g fiber, and 3g fat, largely from the pepitas. Pumpkin puree adds vitamins A and C, plus antioxidants, while whole wheat flour contributes additional fiber and minerals.
This recipe is naturally low in sugar and free from additives, making it a wholesome choice for those mindful of their diet. The sourdough fermentation also aids digestion and may help reduce the impact of gluten for sensitive individuals.
For anyone watching allergens, this bread contains gluten and seeds but is otherwise free from dairy and nuts, unless you add optional ingredients.
Conclusion
This cozy pumpkin sourdough bread with crunchy pepitas has become a staple in my kitchen whenever fall rolls around. It’s a satisfying mix of tangy, sweet, and nutty, perfect for lazy mornings or sharing with friends. What makes it truly special is how approachable the recipe is—no need for fancy gadgets or rare ingredients.
Make it your own by tweaking the seeds or spices, and don’t hesitate to bake it even if you’re not an expert baker. Trust me, the results will surprise you. I love how it brings a little calm and warmth into busy days, inviting you to slow down and savor.
If you try this recipe, I’d love to hear how it turns out or what variations you experiment with. Baking is better when shared, and this pumpkin sourdough bread is definitely a story worth telling in your kitchen.
Frequently Asked Questions
Can I use fresh pumpkin instead of canned puree?
Yes! Roast and blend fresh pumpkin until smooth, then measure the same weight. Fresh pumpkin adds a brighter flavor but may have slightly more moisture, so adjust water if needed.
How do I know when my sourdough starter is ready to use?
It should be bubbly, active, and roughly doubled in size about 4-6 hours after feeding. A simple float test (dropping a spoonful in water) can help: if it floats, it’s ready.
What if I don’t have a banneton for proofing?
No worries! Use a bowl lined with a well-floured kitchen towel. This will support the dough’s shape during the final rise.
Can I make this bread without pepitas?
Absolutely. The pepitas add crunch and flavor, but leaving them out won’t affect the bread’s rise or texture.
How long does this pumpkin sourdough bread keep fresh?
At room temperature, it stays fresh for about 3 days. For longer storage, slice and freeze, then toast slices as needed to refresh.
For a delightful twist on fall baking, you might also enjoy my crispy garlic chicken or try the hearty roasted butternut squash salad to complement your cozy pumpkin sourdough moments.
Pin This Recipe!
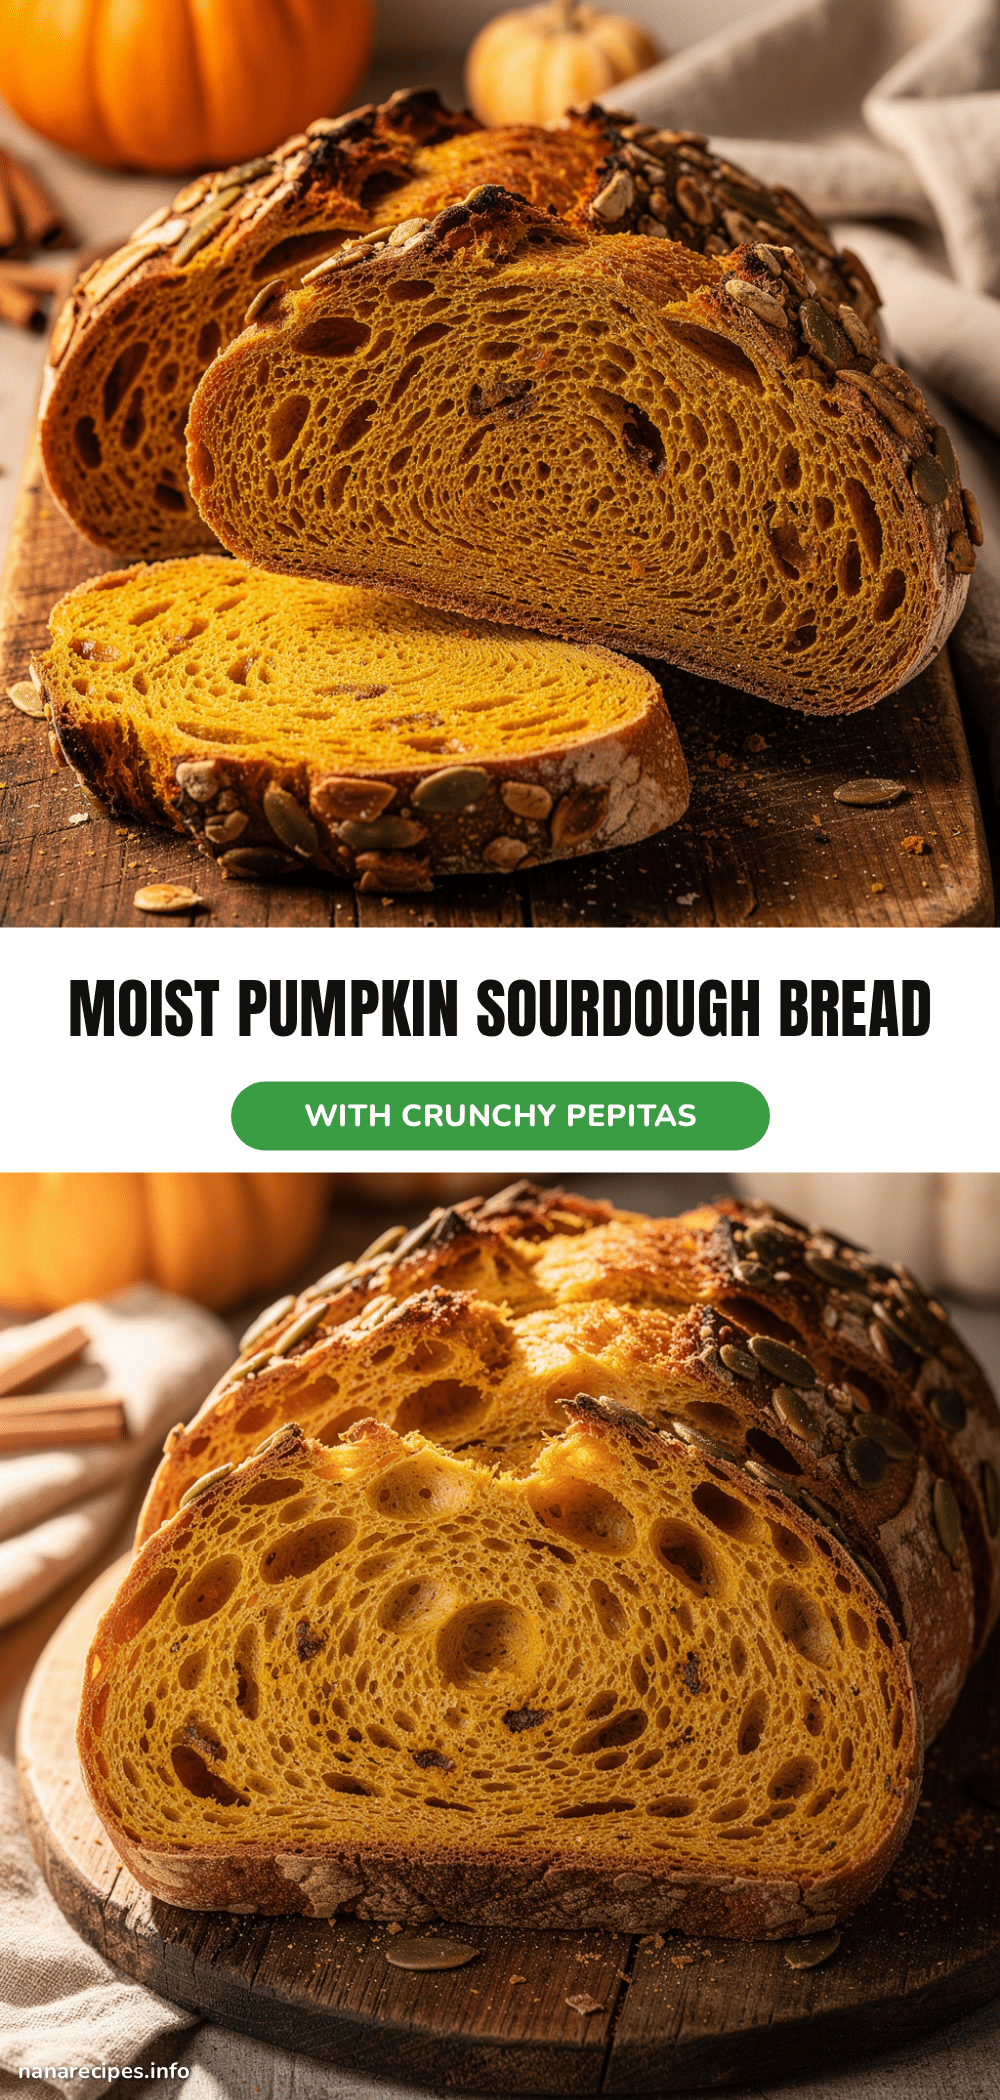
Cozy Pumpkin Sourdough Bread Recipe With Crunchy Pepitas Perfect For Fall
A cozy and rustic pumpkin sourdough bread with a subtle sweetness and crunchy toasted pepitas, perfect for crisp fall mornings and slow weekend breakfasts.
- Prep Time: 30 minutes
- Cook Time: 45 minutes
- Total Time: Overnight (about 12-16 hours including proofing and fermentation)
- Yield: 1 loaf (about 10-12 slices) 1x
- Category: Bread
- Cuisine: American
Ingredients
- 100g active sourdough starter (fed and bubbly)
- 350g all-purpose flour (about 3 cups)
- 50g whole wheat flour (about 1/3 cup)
- 150g pure pumpkin puree (about 2/3 cup), canned or fresh, no added sugar
- 200g warm water (about 7 oz)
- 10g salt (about 2 tsp)
- 15g honey or maple syrup (1 tbsp), optional
- 50g toasted pepitas (about 1/3 cup)
- Optional: pinch of cinnamon or ground nutmeg
Instructions
- Mix the dough: In a large bowl, combine 350g all-purpose flour, 50g whole wheat flour, and 10g salt. In a separate container, whisk together 150g pumpkin puree, 200g warm water, 100g active sourdough starter, and 15g honey (if using). Pour wet ingredients into the dry and stir until just combined—don’t overmix. The dough will be sticky and shaggy. (About 5 minutes)
- First rest (autolyse): Cover the bowl with a towel and let it rest for 45 minutes to hydrate the flour and start gluten development without kneading.
- Stretch and fold: Wet your hands, then reach under the dough, stretch it gently upwards and fold over the top. Rotate the bowl and repeat 3-4 times. Cover again and repeat this stretch and fold every 30 minutes for 2 hours total to build dough strength and develop texture.
- Add pepitas: After the last fold, gently fold in 50g toasted pepitas using a spatula or your hands to distribute evenly without deflating the dough.
- Bulk fermentation: Let the dough rise at room temperature (around 70°F/21°C) for 4-6 hours until puffy and airy with bubbles forming on the surface.
- Shape the loaf: Lightly flour your work surface and turn the dough out. Shape it into a tight round boule by folding edges into the center and flipping it seam side down. Create surface tension by pulling the dough towards you on the counter.
- Final proof: Place the shaped dough into a well-floured banneton or bowl lined with a clean kitchen towel. Cover and proof in the fridge overnight (8-12 hours) or at room temperature for 2-3 hours until puffed but not doubled.
- Preheat oven: Place your Dutch oven (with lid) in the oven and preheat to 475°F (245°C) for at least 30 minutes.
- Bake: Carefully transfer the dough onto parchment paper and score the top with a sharp blade or knife. Place the dough (with parchment) into the hot Dutch oven, cover with the lid, and bake for 20 minutes. Remove the lid and bake another 20-25 minutes until deep golden brown and crusty.
- Cool: Transfer the bread to a cooling rack and let it rest for at least 2 hours before slicing to let the crumb set properly.
Notes
If dough feels too wet during shaping, dust hands lightly with flour instead of adding flour to dough. Scoring the bread properly helps it expand in the oven instead of bursting unpredictably. Patience during fermentation is key for flavor and texture. Toast pepitas before folding in for best crunch. Let bread cool completely before slicing to avoid gummy crumb. If no Dutch oven, use a heavy baking sheet with an oven-safe bowl to trap steam.
Nutrition
- Serving Size: 1 slice (about 80g)
- Calories: 180
- Fat: 3
- Fiber: 2
- Protein: 5
Keywords: pumpkin sourdough bread, fall bread recipe, pumpkin bread, sourdough, pepitas, crunchy bread, autumn baking, cozy bread